HOWTO: Create a Private Extension Gallery for Visual Studio and Visual Studio Code

By using ProGet, teams can take extension packages from Microsoft’s public Visual Studio Extension repository, the Visual Studio Marketplace, and upload them to ProGet as packages, creating a feed that acts as a private extension gallery of curated packages that your team can access.
If the Visual Studio Extension feed is hosted internally, this will also allow your team to access the packages in an offline environment.
This article will run through configuring ProGet to create a feed that acts as a private Visual Studio Extension gallery for a team using either Visual Studio or Visual Studio Code to access and consume a curated selection of Visual Studio Extension packages. This configuration would also allow the feed to be used offline.
Step 1: Creating and Naming a New Feed
The first thing we need to do is create a "Visual Studio Extension" feed. We start by selecting "Feeds" and "Create New Feed". Next, select "Visual Studio Extensions" as we will be using Visual Studio Extension packages.

From here, name the feed, which we will call private-vsix in this example.
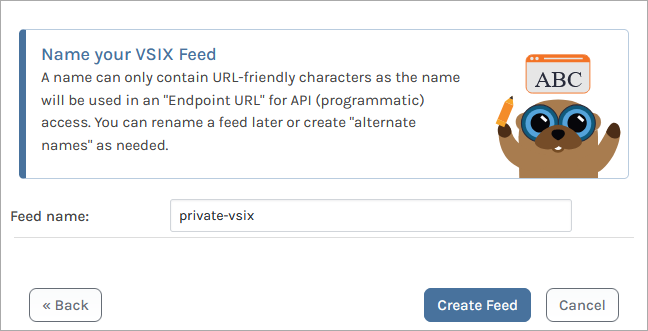
Finally, we select "Create Feed", which will create the feed, and redirect us to our private-vsix feed, which is currently empty and will be populated with packages later.
![]()
Step 2: Set Permissions
There are many ways to configure security access controls for uses and groups in ProGet. In this example, we want to permit only administrators and network engineers to upload packages to the private-vsix feed, since they're trained to check the quality, licenses, and vulnerabilities of open-source packages. To ensure this rule, we'll set up a new permission. By default, only administrators have assigned permissions.
To start, we navigate to "Settings"> "Manage Security".
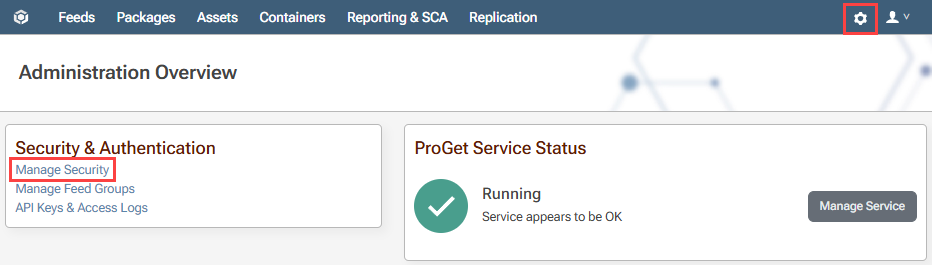
We then navigate to the "Tasks / Permissions" tab, listing the currently configured permissions, and select "add permission".
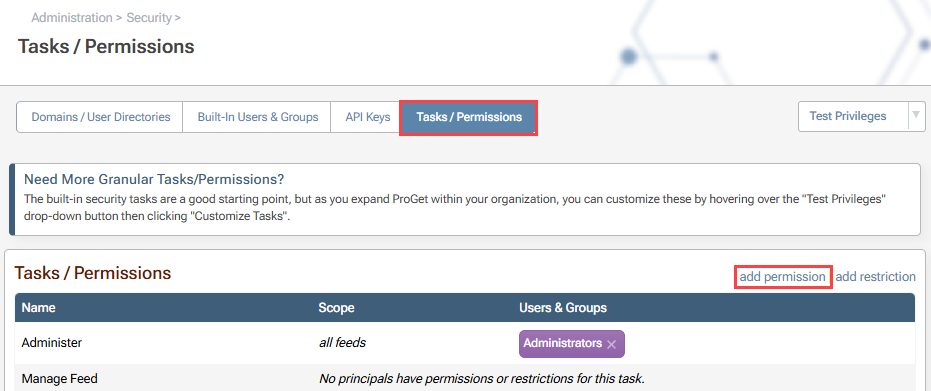
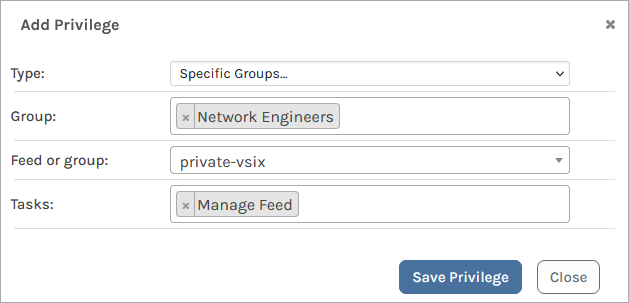
Next, we will fill out the following dialog to give the "Network Engineers" user group permission to "Manage Feed" for the private-vsix feed.
After saving these privileges, the task overview page looks like this:
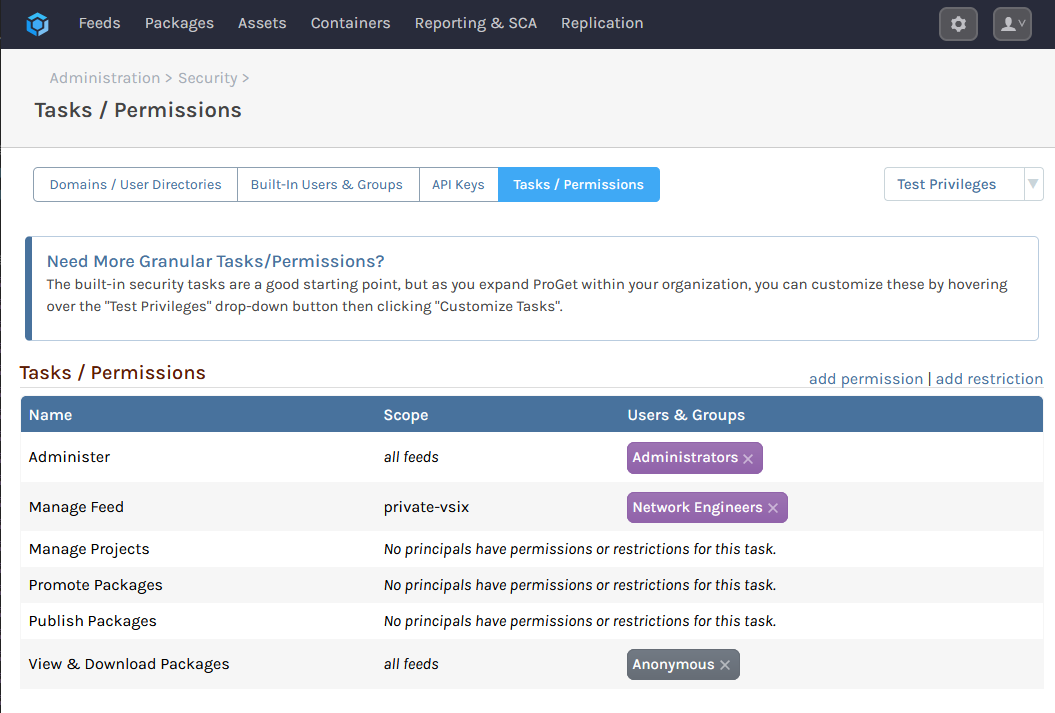
Visual Studio does not support authenticated feeds, and will be unable to connect to your feed if your instance of ProGet has built-in authentication enabled. To allow your developers access to view and download packages from your feed through Visual Studio, make sure "Anonymous" access is set up in your ProGet instance.

Step 3: Upload Extensions as Packages to ProGet
Now we will populate our Visual Studio Extensions feed private-vsix with extensions. These can be downloaded from the Visual Studio Marketplace.
ProGet allows you to upload packages from a local source through various means. This guide will offer three options; using pgutil, through the UI, or by bulk uploading.
Option 1: Using Pgutil
You can use pgutil to upload packages by running this command:
pgutil packages upload --feed=«vsix-feed-name» --input-file=«path-to-extension»
For example, to upload the package myExtension.vsix located in C:\visualstudio\extensions to the feed private-vsix you would enter:
pgutil packages upload --feed=private-vsix --input-file=C:\visualstudio\extensions\myExtension.vsix
pgutil will require some minor configuration before use.
Option 2: Through the UI
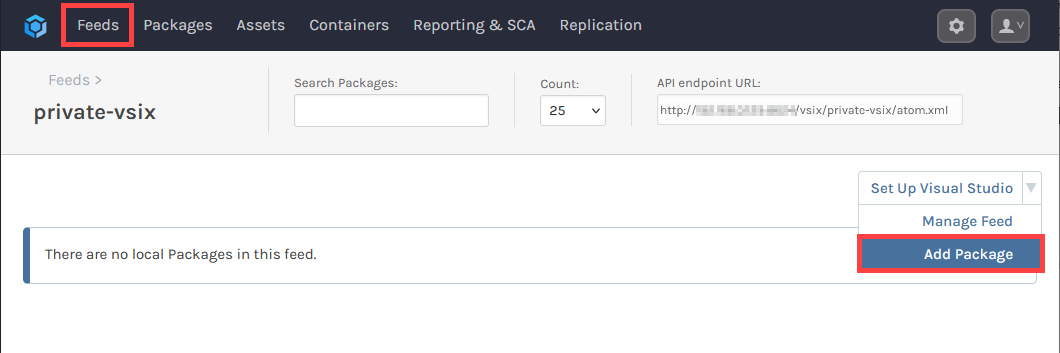
You can use the ProGet UI to upload packages. Navigate to "Feeds" > the private-vsix feed and select "Add Extension" from the drop-down menu.
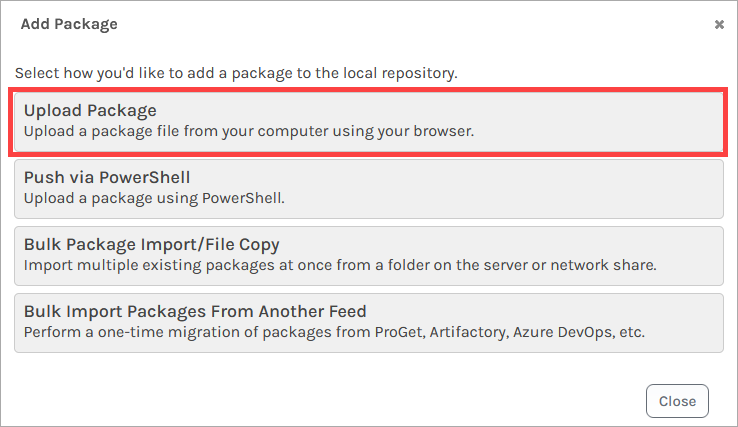
Then select "Upload Package".
Finally, use the file browser to select the package and click "Upload File".

Option 3: Bulk Package Upload
ProGet allows you to bulk upload extensions to your Visual Studio Extension feed.
Step 4.1: Adding the Feed to Visual Studio
To add a VSIX feed to Visual Studio, an additional extension gallery must be added. To do this, navigate to "Tools" > "Options" > "Environment" > "Extensions" and click the "Add" button under "Additional Extension Galleries". Fill in the name and set the URL to the API endpoint URL of the VSIX feed.
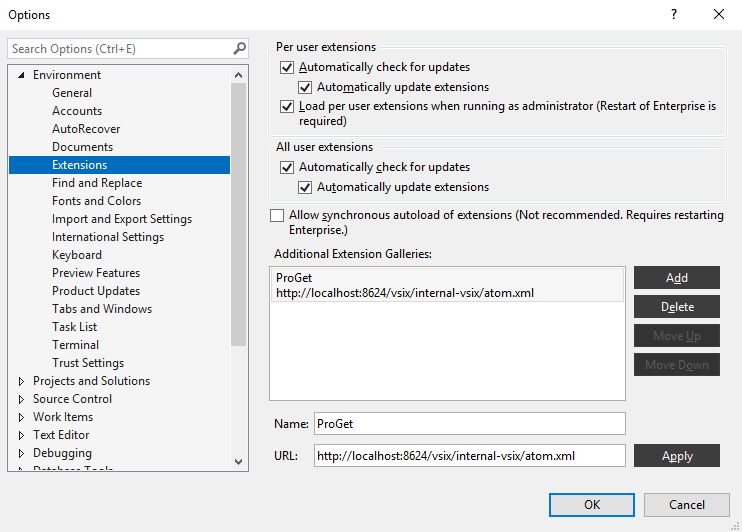
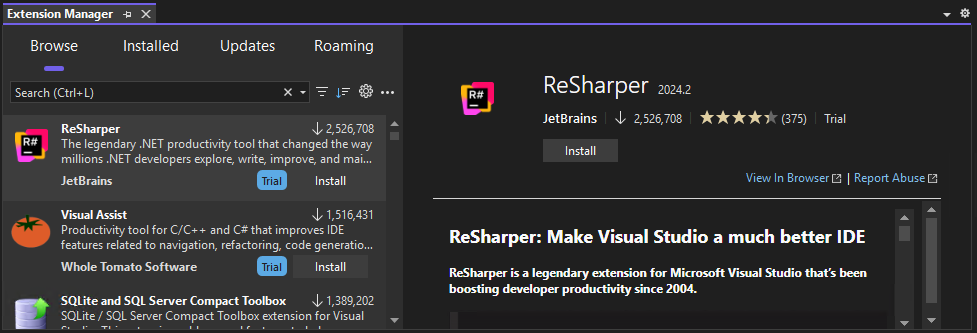
This allows you to install the extensions of your VSIX feed in addition to the extensions in the built-in galleries using the "Extension Manager" window, opened by navigating to "Extensions" > "Manage Extensions".
Managing Galleries with Registry Settings
To manage multiple machines or control access to extension galleries in Visual Studio, you can use a .pkgdef file. This allows you to add, prioritize, or disable galleries, including your private ProGet feed, by modifying registry settings. You can also disable public galleries or set your private feed to appear first.
Step 4.2: Adding Packages from a Feed to VS Code
Currently, Visual Studio Code does not support private galleries, despite there being a request for it that has been open since 2017. You can still upload extensions to a VSIX feed, but users will need to manually download them and then import them into their Visual Studio Code.
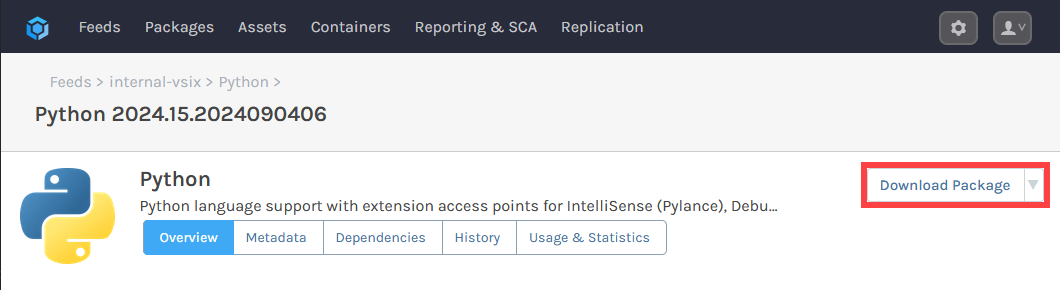
To download, navigate to a version of the package and select "Download Extension".
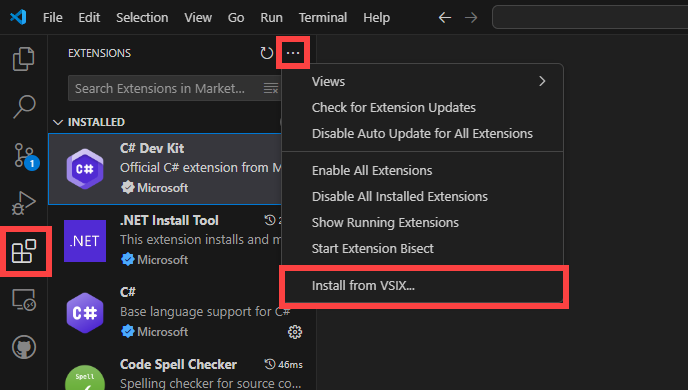
Once the file is downloaded, in VS Code navigate to "Extensions" > "..." > "Install from VSIX" and then using the file browser to locate the .vsix VS Code extension locally.
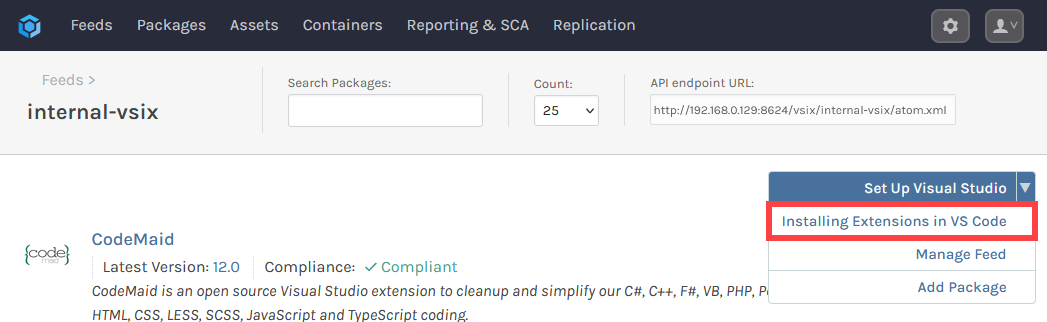
Adding Custom Feed Instructions (Optional)
To provide developers using VS Code with the above guidance when using VS Code, you can add Custom Feed Instructions
To create custom feed instructions, navigate to your Visual Studio Extensions feed and select "Feed Properties".
Then select "Create" under "Feed Usage Instructions".
Give the instructions a title and then enter them using MarkDown syntax. For the instructions given above, you can use this pre-written example:
Currently, Visual Studio Code does not support private galleries. To install extensions users will need to manually download them and then import them into their Visual Studio Code by following these steps:

1. Navigate to a version of a package
2. Select "Download Extension"
3. In VS Code, navigate to "Extensions" > "..." > "Install from VSIX"
4. Using the file browser, locate the `.vsix` VS Code extension and select it.
After entering title and instructions, select "Save". The instructions will then be found by navigating to your Visual Studio Extensions feed, and selecting the title from the drop-down menu.