HOWTO: Set Up a Private Chocolatey Repository for Internalized Packages
ProGet can be configured as a private Chocolatey repository used to host internalized packages exclusively.
For more information on how it works, along with an explanation, see Chocolatey Privatization and Internalization. However, in this article, we will explain how to set up a feed in ProGet to act as a private Chocolatey repository to host internalized packages.
This guide explains how to internalize Chocolatey packages, where all resources are hosted internally. This is different from privatizing packages, where packages hosted on a private feed still rely on external resources. Privatizing alone is not recommended, as it doesn’t fully control the installer files, which may become unavailable or insecure.
Step 1: Internalizing Your Packages
To internalize Chocolatey Packages, you can use Chocolatey’s package internalizer to internalize packages automatically or you can do it yourself:
- Download and unpack the existing package as a .zip file.
- Download the resources that the package has and add them to the package.
- Edit the installation script to point to the internal software.
- Package it back up.
Note that you can also internalize installer files by embedding them into packages, however, we recommend privatizing the installer files by hosting them on an internal server as it is the better approach for two reasons:
- Chocolatey is designed to run scripts that download installer files, not large packages, so embedding large installers may cause performance issues
- Privatizing allows users to access the installers directly if needed.
Be sure to change the title or edit the description of your internalized packages before uploading them to ProGet, as internalized packages look externally identical to normal packages. To avoid confusion, we recommend slightly changing the name of the internalized package, for example, change Firefox to Firefox-internalized.
Step 2: Create an Internalized Feed in ProGet
Now that your packages are internalized, a separate feed should be created exclusively for approved internalized Chocolatey packages. You can read more on creating feeds by reading Creating and Managing Feeds
In your ProGet instance, select "Feeds" and "Create New Feed", and select "Chocolatey Packages".
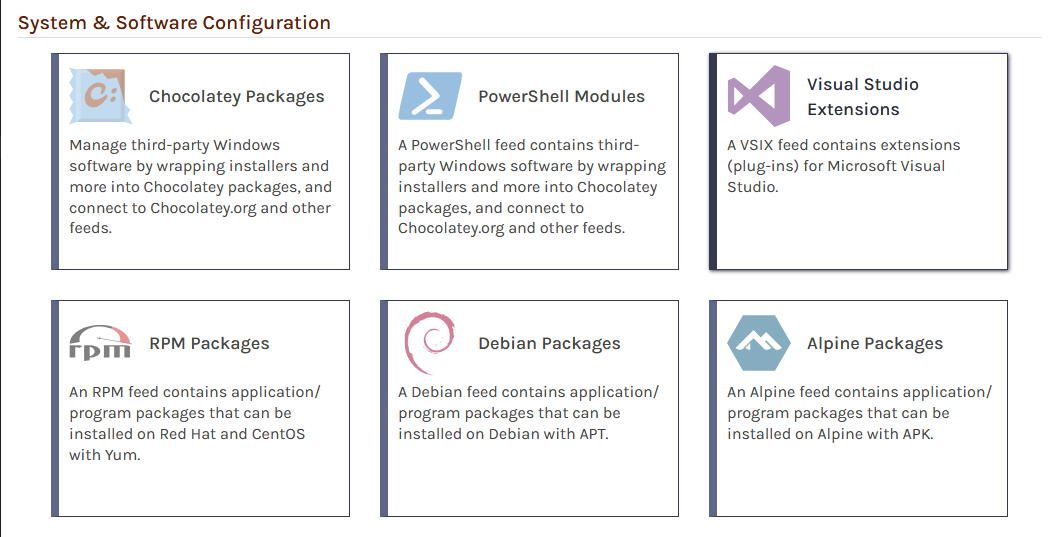
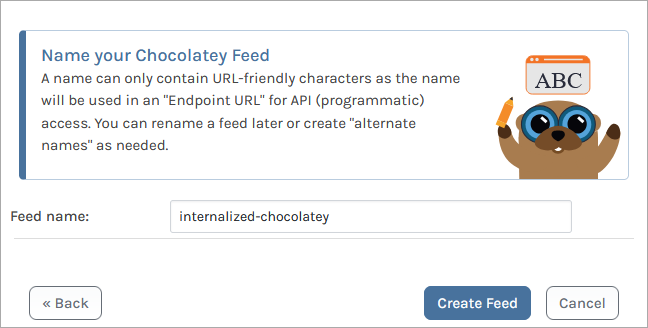
Now select "Private/Internal Chocolatey Packages" as this feed will be intended as a private repository. From here, we name our feed. For this example, we will call it internalized-chocolatey, and then click "Create Feed".
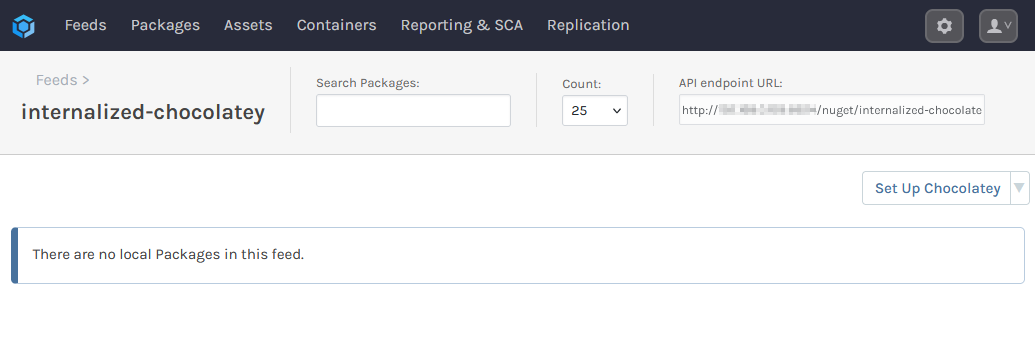
You will then be directed to the new internalized-chocolatey feed, currently empty.
Step 3: Create an Asset Directory
To upload the installer files needed by your internalized package, you will need to create an Asset Directory to host them. An asset directory in ProGet is like a feed, except that it contains arbitrary files instead of package files that you can access through your web browser and the RESTful API. One such use case for these is using them to host the installer files required by your internalized Chocolatey packages.
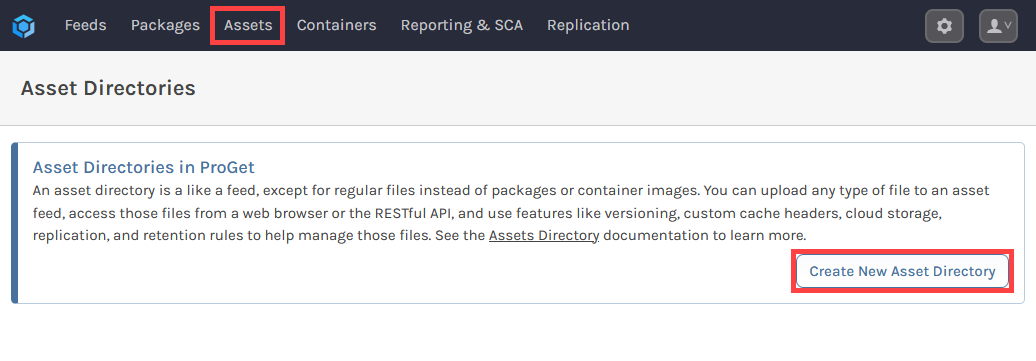
The fastest way to create an Asset Directory in ProGet is to navigate to "Assets" and select "Create New Asset Directory".
You will then be prompted to name your asset directory, which we will call it chocolatey-assets for this example. Selecting "Create Feed" will direct you to your new asset directory, currently empty.

Step 4: Create an API Key
Now create an API Key which will allow you to authenticate to the internalized-chocolatey feed to upload your internalized packages to it.
You can read more about creating API keys in ProGet on our API Key page.
When creating an API Key, fill in the fields by selecting "Feeds (Use Certain Feeds)" as the "Feed Type" and selecting the internalized-chocolatey feed. Then set the API key. You can use any alphanumeric sequence, or just leave it blank to autogenerate one.
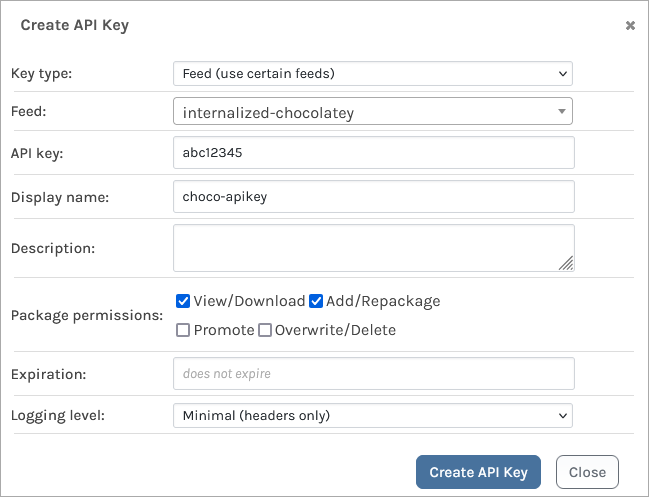
Make sure the "View/Download" and "Add/Repackage" boxes are checked, and then select "Create API Key".
Step 5: Upload Internalized Packages and Installer Files
Now that you have a private internalized feed and asset directory set up, you can upload your internalized packages and installer files to them. While you can use choco push to do this, many users find it easier to use pgutil as it allows you to more easily specify different feeds.
pgutil will require some minor configuration before use. This includes setting up your ProGet instance and API key as a source with the sources add command. For example, to add the ProGet instance https://proget.corp.local/ with the API Key abc12345 you would enter:
$ pgutil sources add --name=Default --url=https://proget.corp.local/ --api-key=abc12345
Uploading Internalized Packages
To upload your internalized packages to ProGet using pgutil, you can use the packages upload command. For example, to upload the package my-package-1.2.3.nupkg stored at C:\chocolatey_packages\ to your internalized-chocolatey feed you would enter:
$ pgutil packages upload --feed=internalized-chocolatey --input-file=C:\chocolatey_packages\my-package-1.2.3.nupkg
Your package will then be uploaded to the internalized-chocolatey feed.

Uploading Installer Files
To upload your internalized packages to ProGet using pgutil, you can use the assets upload command. For example, to upload the installer file my-package.exe stored at C:\installer-files\ to your chocolatey-assets feed you would enter:
$ pgutil packages upload --feed=chocolatey-assets --input-file=C:\installer-files\my-package.exe
Your package will then be uploaded to the chocolatey-assets feed.

Step 6: Adding ProGet as a Source
To add your internalized-chocolatey feed as a source in your client, use the choco source add command. We recommend giving the source the same name as your feed. For example, if adding the ProGet server proget.corp.local as a source, you would enter:
$ choco source add -n="internalized-chocolatey" -s="http://proget.corp.local/feeds/internalized-chocolatey" --priority=1
To make sure that your client only installs your internalized packages, we recommend removing any default sources already configured using the choco source remove command:
$ choco source remove -n="chocolatey"
You can confirm your client is properly connected to ProGet using the choco source list command:
$ choco source list
Step 7: (Optional) Authenticating to Your Chocolatey Feed
By default your internalized-chocolatey feed does not need to be authenticated to, and can be viewed and installed from anonymously. However, you may want to make your repository private and authenticate to it.
Instead of using your ProGet username and password, we strongly recommend using an API Key, with api as the username, and the API Key as the password.
To learn more about how to configure this, read Authenticating to Chocolatey Feeds.

