HOWTO: Publish Conda Packages to a Private Repository in ProGet
ProGet makes it easy to set up a private repository for your Conda packages to publish, store and share your packages internally.
This guide will show you how to set up a "Feed" in ProGet to as a Private Conda package repository. We will also walk you through creating, publishing and consuming packages from this feed.
Step 1: Create a New Feed
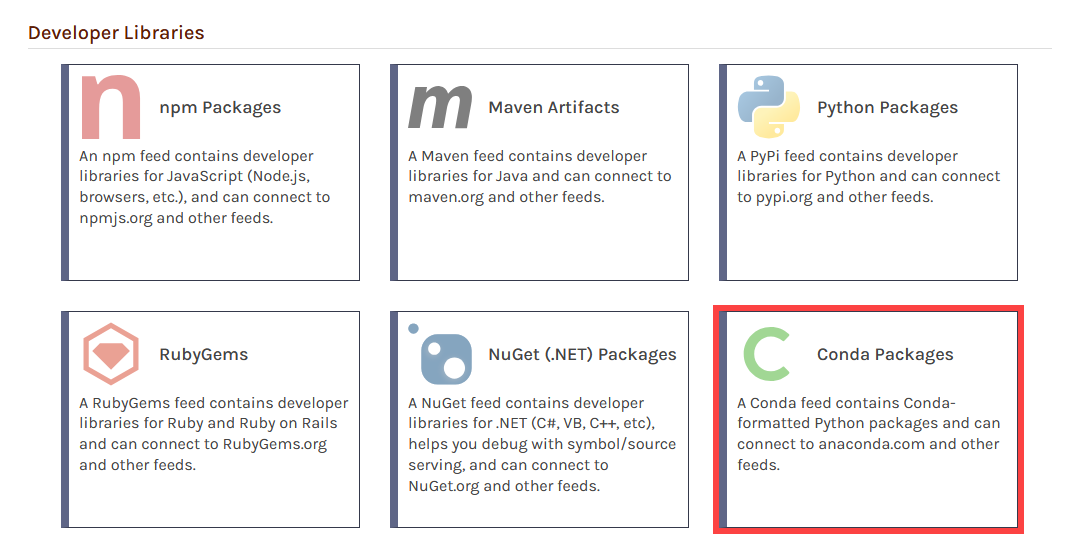
First, we will create a Conda feed to host your Conda packages. Start by selecting "Feeds" and "Create New Feed". Next, select "Conda Packages".
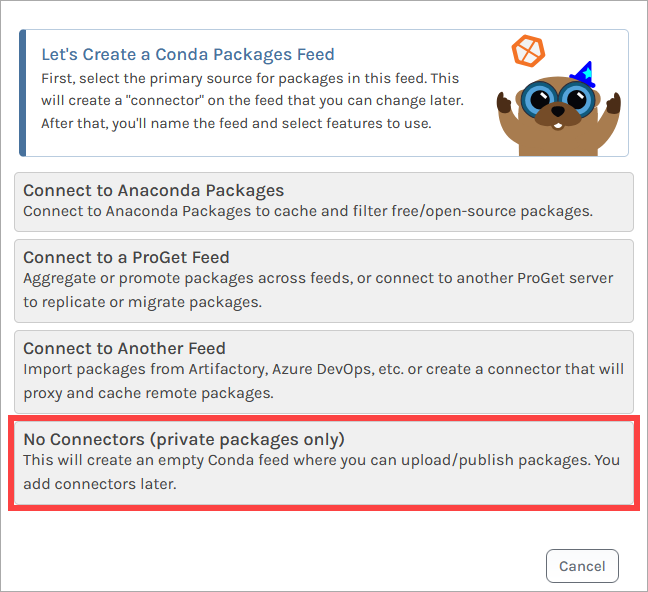
Now select "No Connectors (Private packages only)" as we will be creating a private feed.
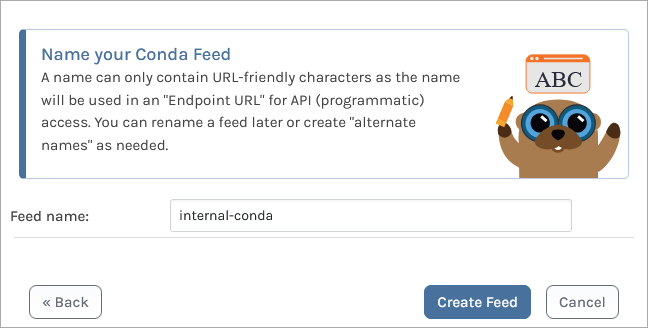
From here, we name our feed. For this example, we will call it internal-conda, and then click "Create Feed".
We are then presented with several options. These relate to ProGet's Vulnerability Scanning and Blocking features, however they are only for users looking to use third party packages. Leave these boxes unchecked, and select "Set Feed Features". You will then be redirected to your new internal-conda feed, currently empty.

Step 2: Create an API Key
We will now create an API Key allowing our local client to authenticate to our internal-conda feed. This allows us to publish packages to the feed, as well as consume them once published.
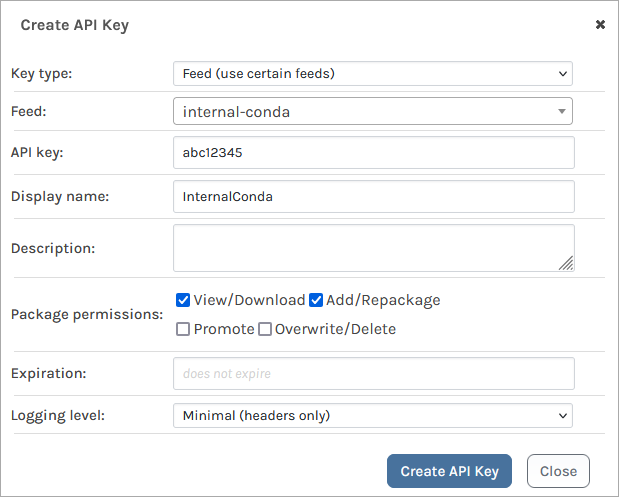
When creating an API Key, fill in the fields by selecting "Feeds (Use Certain Feeds)" as the "Feed Type" and selecting the internal-conda feed. Then set the API key. You can use any alphanumeric sequence, or just leave it blank to autogenerate one. Ensure that the "View/Download" and "Add/Repackage" boxes are checked, and then select "Save".
Step 3: Build Your Package
Next, we will build and publish our packages. You can follow the official Conda documentation to learn more about creating packages. To build your package you will need to have conda-build installed if you haven't already by entering:
$ conda install conda-build
Then build your package by navigating to the directory containing your package files and meta.yaml and entering:
$ conda-build .
When conda-build is finished, it displays the package filename and location of the .tar.bz2 file created.
Step 4: Publish Your Package to ProGet
To publish your package to your ProGet Conda feed, we can use pgutil.
pgutil will require some minor configuration before use. This includes setting up your ProGet instance and API key as a source by running:
$ pgutil sources add --name=Default --url=«proget-url» --api-key=«api-key»
For example, adding the ProGet instance https://proget.corp.local/ with the API Key abc12345 you would enter:
$ pgutil sources add --name=Default --url=https://proget.corp.local/ --api-key=abc12345
Now upload your packages by entering:
$ pgutil packages upload --feed=«feed-name» --input-file=«path-to-package»
For example, to upload the package my-package-0.1.0-0.tar.bz2 stored at C:\development\conda_packages\ to your internal-conda feed you would enter:
$ pgutil packages upload --feed=internal-conda --input-file=C:\development\conda_packages\my-package-0.1.0-0.tar.bz2
Your package will then be uploaded to the internal-conda feed.
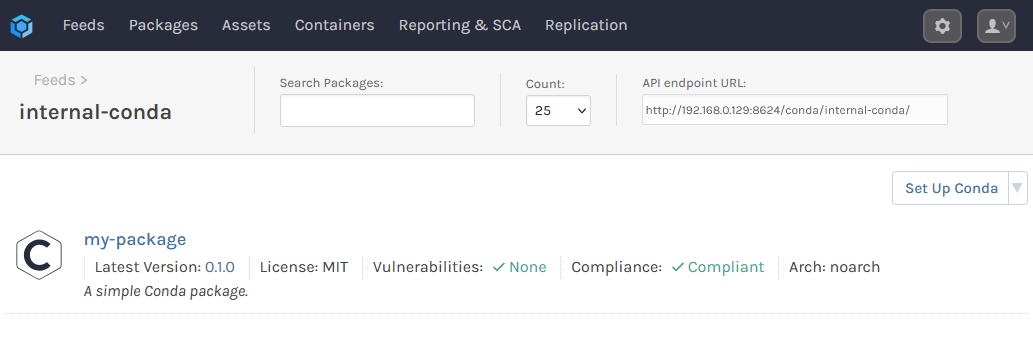
Step 5: Add the Feed to Local Conda Environments
To consume the Conda packages you have published to your internal-conda feed, you'll need to add it to your local Conda environments. For this, you will need the feed's URL. This can be found at the top right of the feed's page.

In your terminal of choice, enter the following, which will require the internal-conda feed URL:
$ conda config --add channels http://«feed-url»
For example, adding a feed with the URL http://proget.corp.local/conda/internal-conda you would enter:
$ conda config --add channels http://proget.corp.local/conda/internal-conda
You can confirm that it was registered by entering:
$ conda config --show channels

