HOWTO: Proxy RubyGems from RubyGems.org

ProGet lets you create "Feeds" that can be configured to proxy Ruby Gems from RubyGems.org, the Ruby community's gem hosting service. This will let teams install gems directly or add as a source in a project's Gemfile.
The advantages of using ProGet as a source to proxy gems are:
- ProGet will cache gems, allowing teams to access them even when RubyGems.org is down.
- ProGet will show which gems are being downloaded and used frequently.
- You can view and assess licenses, vulnerabilities and quality of the gems in your projects.
In this article, we'll explain how to create a feed in ProGet that will proxy packages from RubyGems.org and then configure it as a source in your local Ruby environment, or add it as a source in a Gemfile.
We’ll also explain how to set up a private source for using internal gems, as well as how to establish a package approval process to manage which packages your team can utilize in production.
Step 1: Create and Name a RubyGems Feed
First we will create a RubyGems feed that will proxy packages from RubyGems.org. You can read more on creating feeds by reading Creating and Managing Feeds
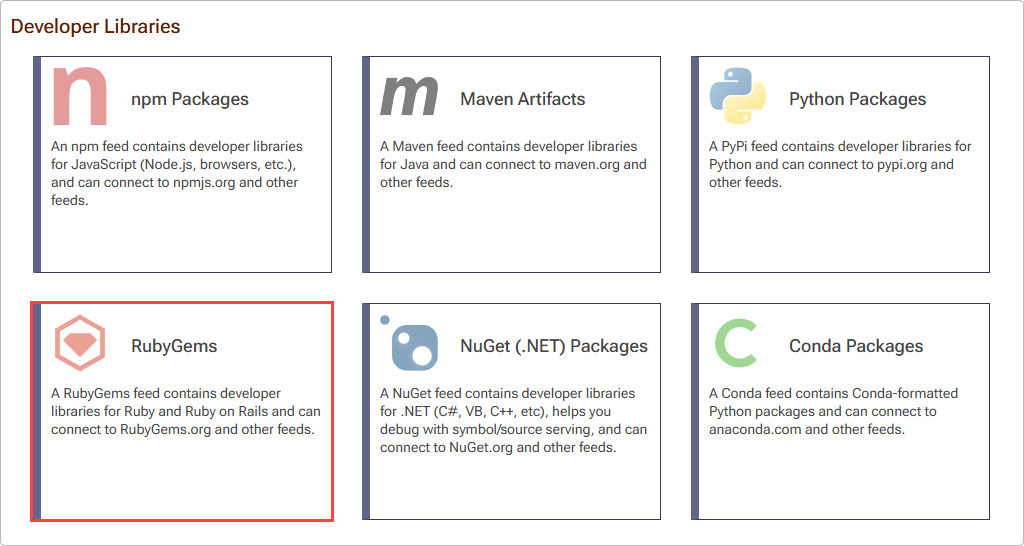
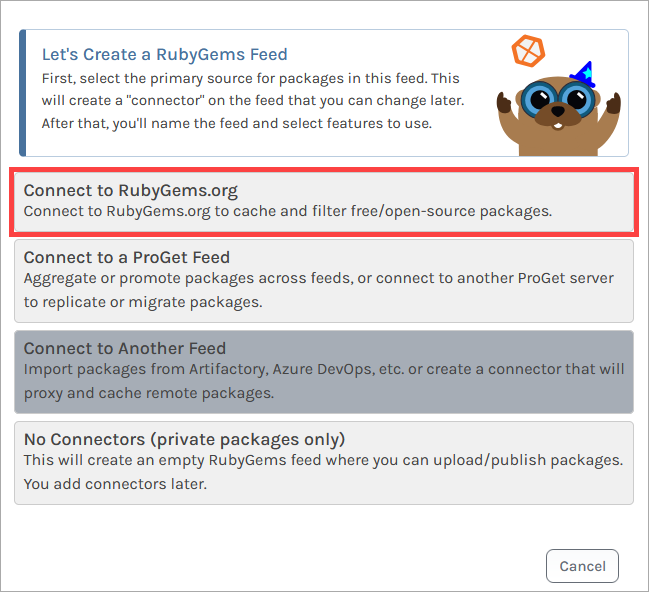
In your ProGet instance, select "Feeds" and "Create New Feed", and select "RubyGems".
Then select "Free/Open Source RubyGems" which will allow us to proxy and cache packages from the RubyGems.org.
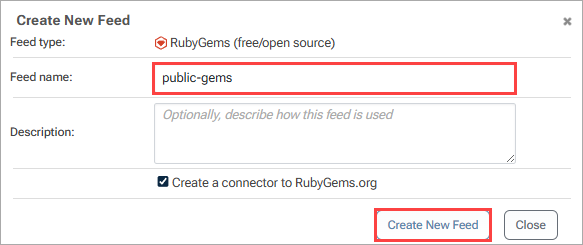
Now we'll name the feed, which we will call public-gems, and then click "Create Feed".
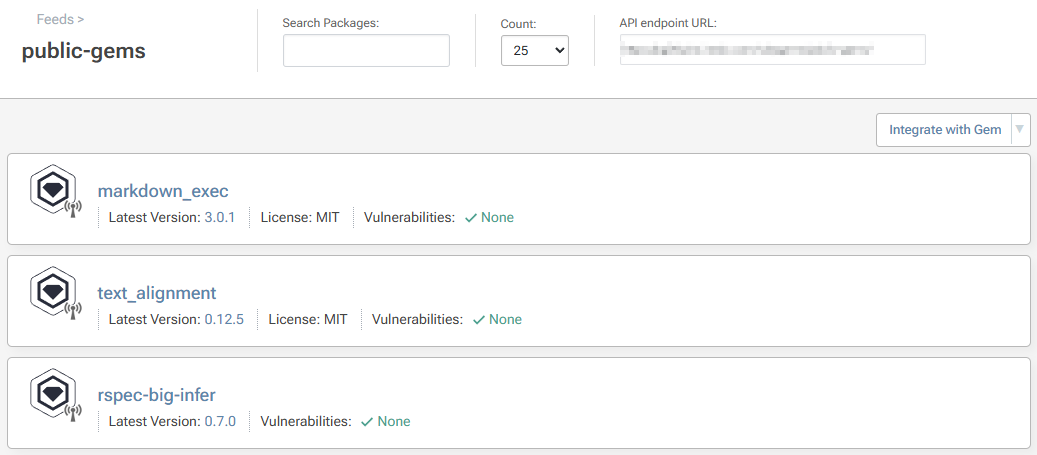
ProGet will then redirect us to our public-gems feed. This feed will now be populated with packages proxied from RubyGems.org.
Step 2: Add the Feed to Your Local Ruby Environments
To install packages from the public-gems feed, you will first need the feed's URL. This can be found on the top right of the feed page:

Then, you will need to add it as a source by entering:
$ gem sources --add «feed-url»
For example, to add your public-gems feed on your ProGet instance hosted on http://proget.corp.local you would enter:
$ gem sources --add http://proget.corp.local/rubygems/public-gems/
By default, RubyGems.org is configured as a source. We recommend removing this so that packages are exclusively installed from the public-gems feed. To remove RubyGems.org as a source, enter:
$ gem sources --remove https://rubygems.org/
Step 3: (Optional) Confirm Connection to your RubyGems Feed
You can confirm that your local Ruby environment is configured with your RubyGems feed by entering:
$ gem sources list
Which should return:
*** CURRENT SOURCES ***

http://proget.corp.local/rubygems/public-gems/
You can also list the packages in the source by entering:
$ gem search --remote
(Optional) Authenticate to Your RubyGems Feed
By default your public-gems feed will not require authentication and can be viewed anonymously. However, you may want to make your feed private and configure it to require authentication to access. One reason for doing this would be when using internal gems in a feed, either solely or in addition to using gems from RubyGems.org.
(Optional) Creating a Package Approval Flow
In this article, we talked about how to proxy packages from RubyGems.org. However, this allows developers to use any OSS package from the public source without oversight. In many cases, it's important to include some form of approval or oversight in development or production, which can be done by introducing a "Package Approval Flow".
To set up a package approval flow, refer to HOWTO: Approve and Promote Open-source Packages. This guide uses NuGet feeds as an example, but the steps are identical when creating RubyGem feeds.
After creating your "Unapproved" and "Approved" feeds, follow the steps in "Add the Feed to Your Local Ruby Environments" to add the "Approved" feed as a source in your local Ruby environments, entering:
$ gem sources --add «feed-url»
And optionally confirming the connection by entering:
$ gem sources list