HOWTO: Create and Push RubyGems to a Private Source in ProGet
ProGet let's you set up "Feeds" as private sources for you to push internal RubyGems to. This will let you store and share them within your organization.
This guide will walk you through the process of setting up a RubyGems feed as a private source in ProGet. We'll also talk about building, uploading, and installing RubyGems from this source.
Step 1: Create and Name a RubyGems Feed
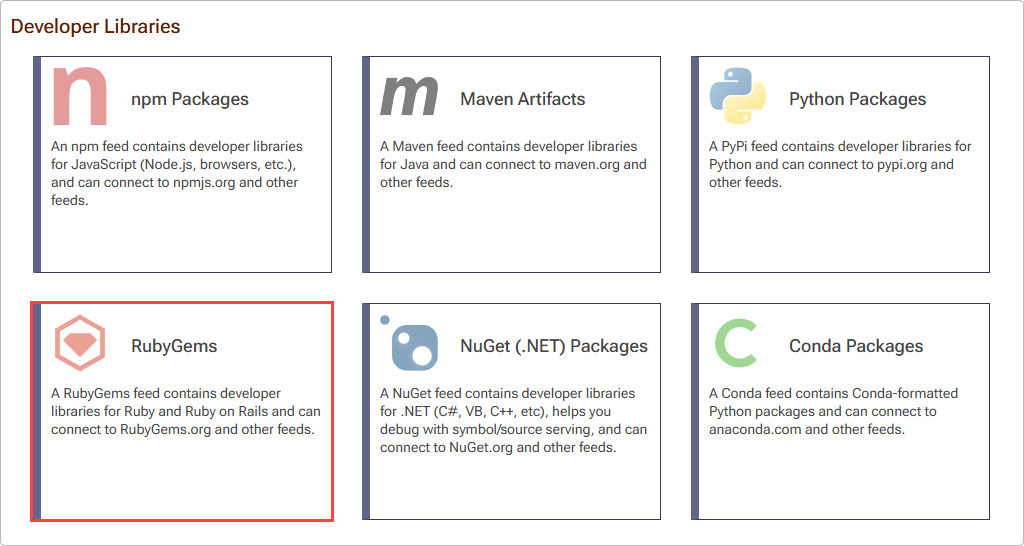
Start by creating a RubyGems feed to host your RubyGems. Navigate to "Feeds" and "Create New Feed". Then select "RubyGems".
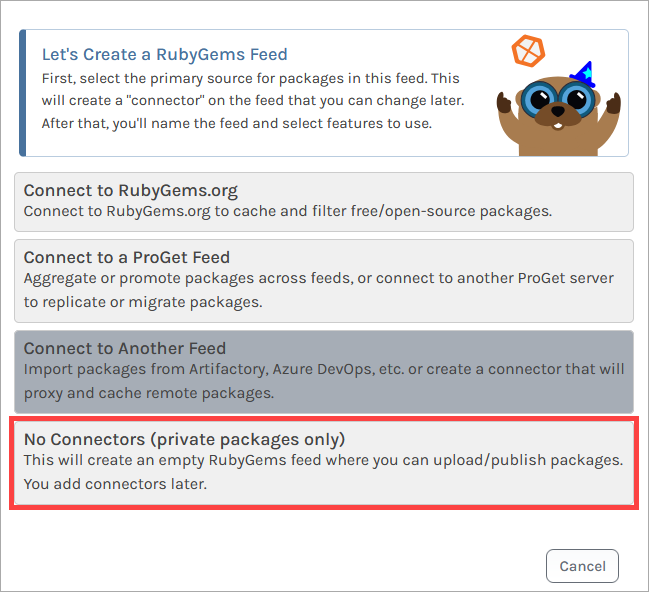
Now select "No Connectors (Private packages only)" as this feed will be intended as a private repository.
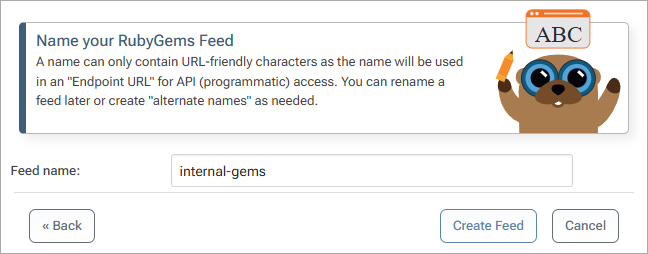
From here, we name our feed. For this example, we will call it internal-gems, and then click "Create Feed".
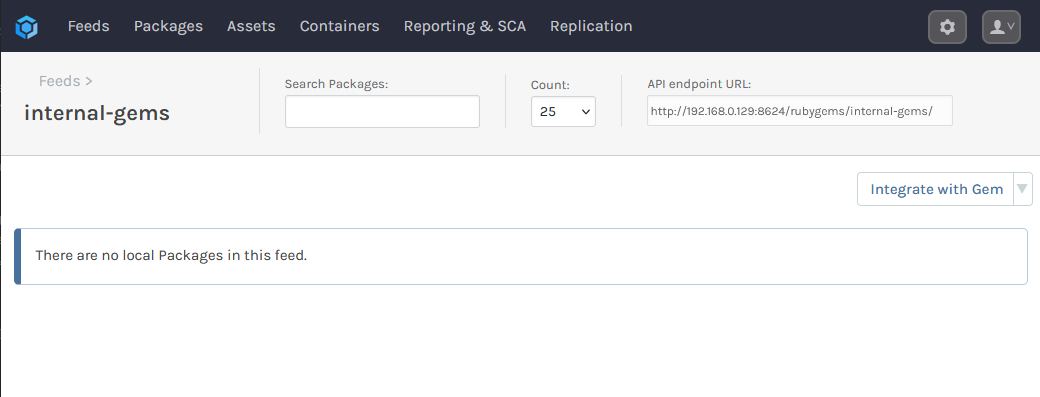
You'll then see several options related to ProGet's Vulnerability Scanning and Blocking features. These are only for users looking to use open source gems like those hosted on RubyGems.org. Leave these boxes unchecked, and select "Set Feed Features". You will then be directed to the new internal-gems feed, currently empty.
Step 2: Create an API Key
Next, we'll create an API Key allowing our local environment to authenticate to our internal-gems feed. This allows us to push and install packages from the feed.
You can read more about creating API keys in ProGet on our API Key page.
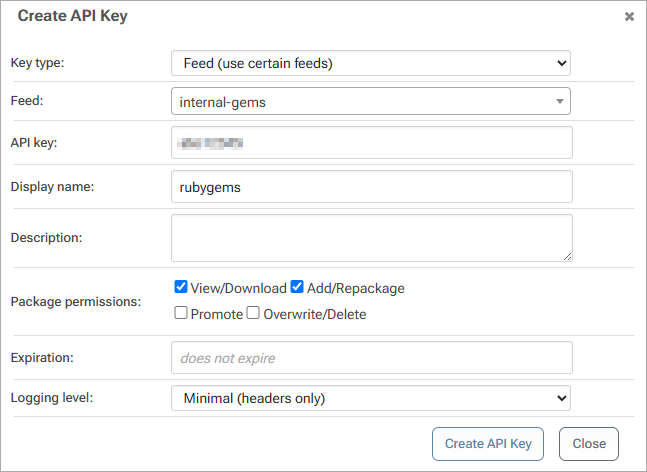
When creating an API Key, fill in the fields by selecting "Feeds (Use Certain Feeds)" as the "Feed Type" and selecting the internal-gems feed. Then set the API key. You can use any alphanumeric sequence, or just leave it blank to autogenerate one. Make sure the "View/Download" and "Add/Repackage" boxes are checked, and then select "Save".
Step 3: Build Your RubyGem
Now, we will build our RubyGem. More information on developing these can be found in the official documentation.
To build your package, you'll first need bundler installed. To do this enter:
$ gem install bundler
Next, set the current working directory to the folder that contains your project files such as your .gemspec, Gemfile, and .rb files. Then build your package by entering:
$ gem build «gemspec-file»
For example, to build a gem named MyGem you would enter:
$ gem build my_gem.gemspec
Your .gem RubyGem is then built, and saved inside your project folder.
Step 4: Push Your RubyGem to ProGet
To push your RubyGem to your internal-gems feed, you will need your feed URL. This can be located in the top right of the feed's page:

Then, enter the following:
$ gem push gem-file» --host «feed-url»
For example, to push your my_gem-1.0.0 RubyGem to your internal-gems feed you would enter:
$ gem push my_gem-1.0.0 --host http://proget.corp.local/rubygems/internal-gems/
You will be prompted for your credentials. For "Username/email" enter api, and for "Password" enter the API key created in Step 2
If successful, you should see the message:
Signed in with API key: LAPTOP-3FJH82K9-Smith-20240930160735.
Pushing gem to http://proget.corp.local/rubygems/internal-gems/...
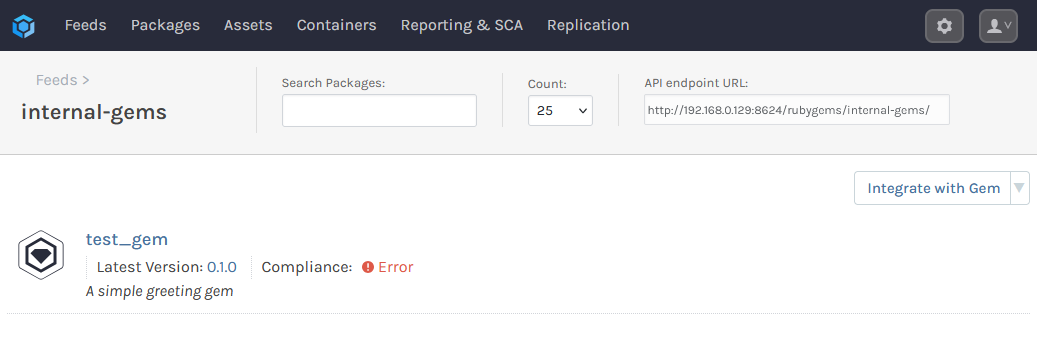
And the gem should be pushed to your internal-gems feed:
Step 5: Adding the Feed to Your Local Ruby Environments
To install packages from the internal-gems feed, take the URL from Step 4, and add it as a source by entering:
$ gem sources --add «feed-url»
For example, to add your internal-gems feed on your ProGet instance hosted on http://proget.corp.local you would enter:
$ gem sources --add http://proget.corp.local/rubygems/internal-gems/
By default, RubyGems.org is configured as a source. This will need to be removed so that packages are exclusively installed from the internal-gems feed. To remove RubyGems.org as a source, enter:
$ gem sources --remove https://rubygems.org/
Step 6: (Optional) Confirming Connection to your RubyGems Feed
You can confirm that your local Ruby environment is configured with your RubyGems feed by entering:
$ gem sources list
Which should return:
*** CURRENT SOURCES ***

http://proget.corp.local/rubygems/internal-gems/
You can also list the packages in the source by entering:
$ gem search --remote

