HOWTO: Build and Deploy an ASP.NET MVC Application (CI/CD)

BuildMaster can build and deploy a multitude of applications to various environments, each with their own specific settings.
In this guide we will look at creating an ASP.NET CORE application called "vatcompweb" in BuildMaster from code hosted in a GitLab repository. We will then look at how we can deploy it to IIS in Integration, Testing and Production environments in a pipeline, which determines where the build will be deployed, as well as what approvals are required before deploying to each stage.
In this tutorial, you’ll learn how to create an ASP.NET CI/CD application and deploy it using BuildMaster’s CI/CD pipeline.
Step 1: Create Application
An Application in Buildmaster is connected to a source like a Git Repository and is used to build and/or deploy a web application or other project.
Start by creating a new application by navigating to "Applications" and selecting "Create Application".
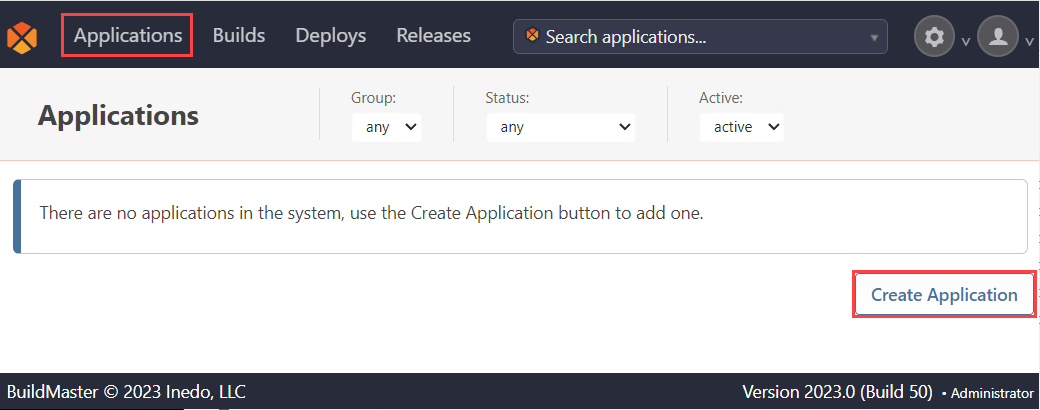
Next select the source of the application. BuildMaster will offer several sources, the most common being Git Repositories and CI Tools such as Jenkins and TeamCity. As we are connecting to GitLab, select "Git Repository".

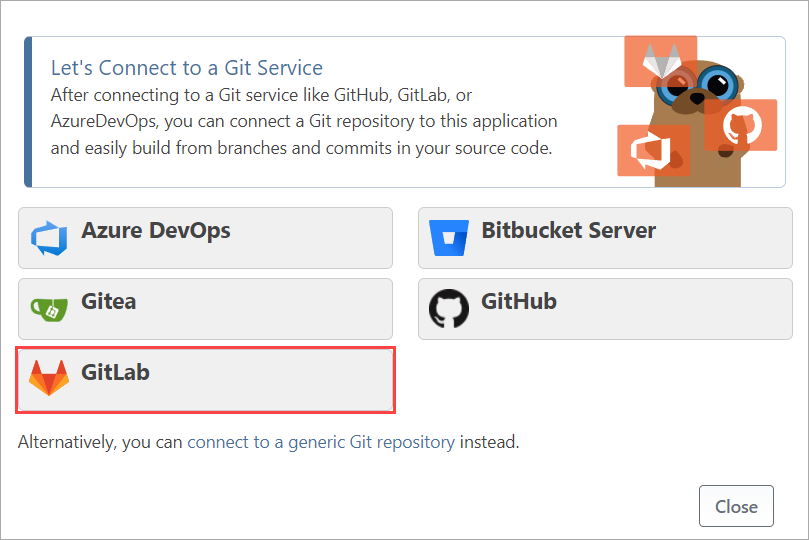
Now select the Source Control. BuildMaster will offer a range of sources for your application, including the option to select a generic Git repository. Each choice will guide you through the specific options to connect to your chosen source control. In this case, select "GitLab" as this is the service that hosts your application repository.
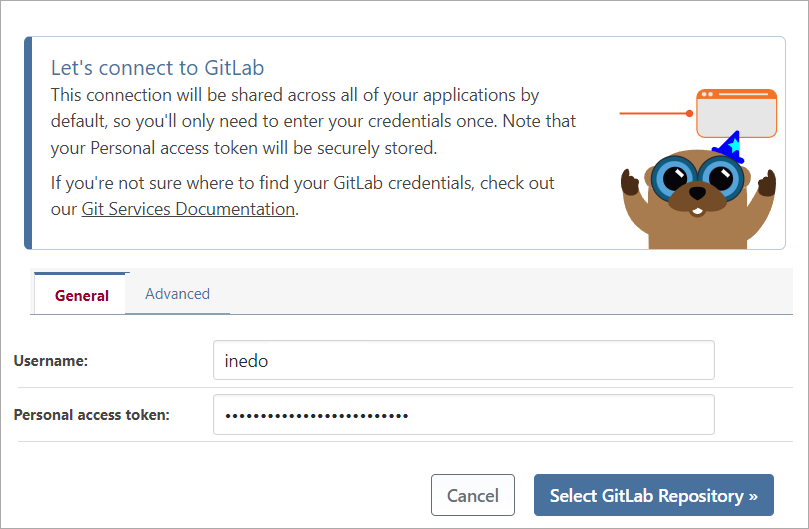
From here enter your Gitlab user name and Personal Access Token generated from your Gitlab profile. Then select "Select GitLab Repository".
Next select the Group and Repository of your application on GitLab. Then select "Set Application Name". In this case our application group is inedo-test-1 and our application is vatcompweb.

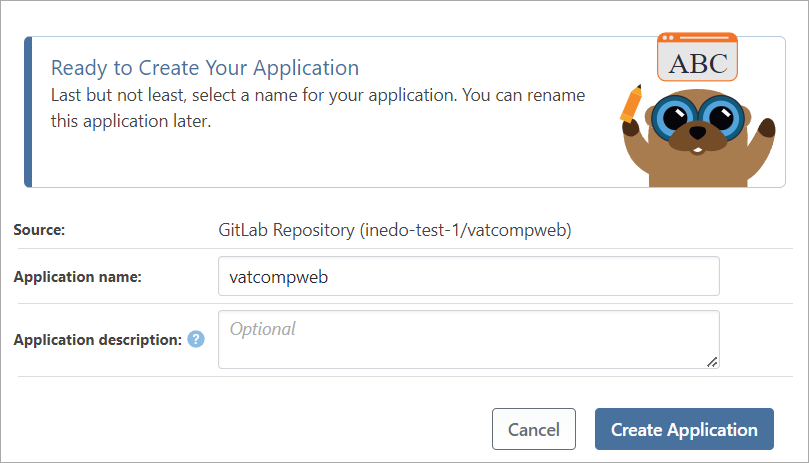
Select a name for your application. You can also choose to enter a description of your application. We are keeping the name the same as our application and calling it vatcompweb. Once you have entered the application name, select "Create Application".
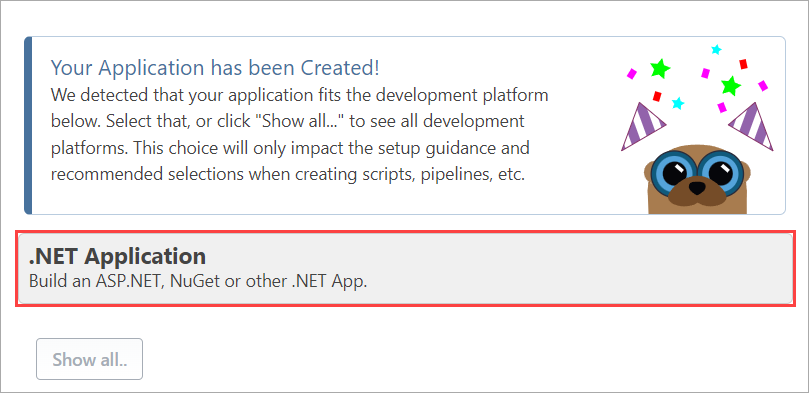
For ease of setup, BuildMaster will automatically detect suitable development platforms based on the application you have created.
In this case BuildMaster has detected that our application was written in ASP.NET and offers ".NET Application" as a choice. If your development platform is not listed, you can select "Show All" to display the full list. In this case, select ".NET Application".
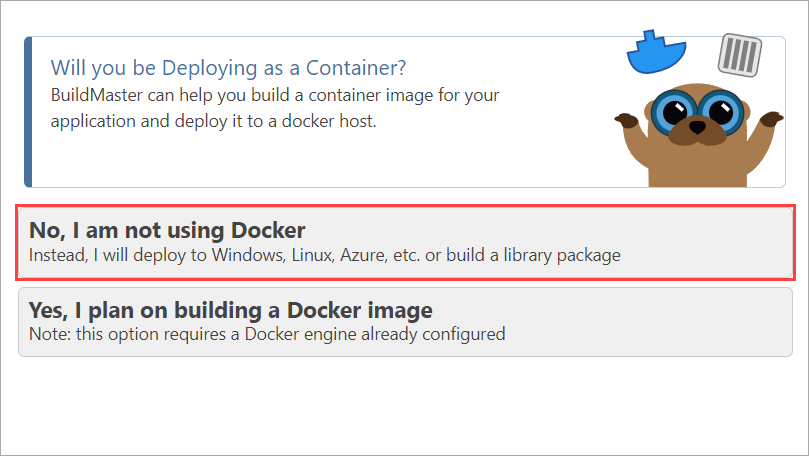
Buildmaster will now allow you to specify if you are using a Docker Container image. In this guide we are not using a Docker image, so select "No, I am not using Docker".
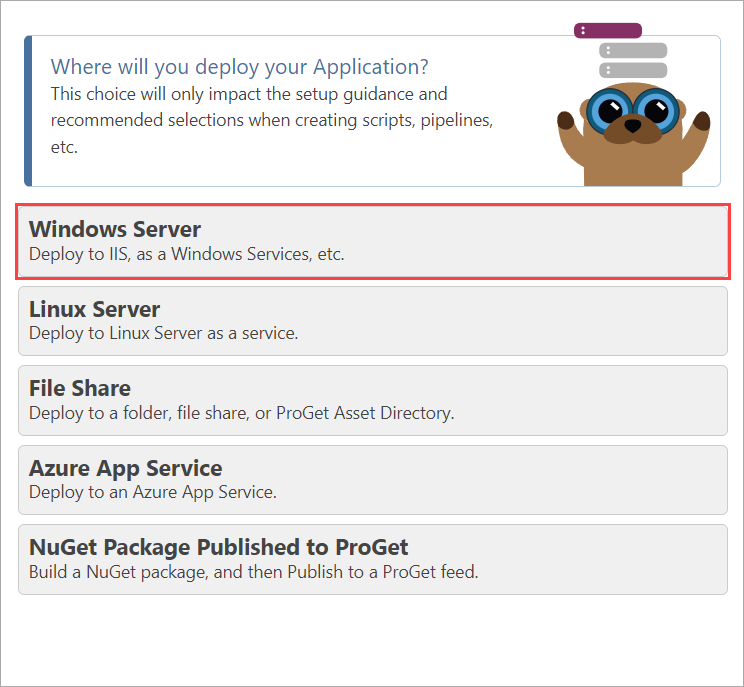
Finally select how you will deploy your application. This will only impact BuildMaster's set-up guidance and recommended selections, and you can add as many deployment targets to an application as needed.
However, for our application we will deploy our application to IIS, so select "Windows Server".
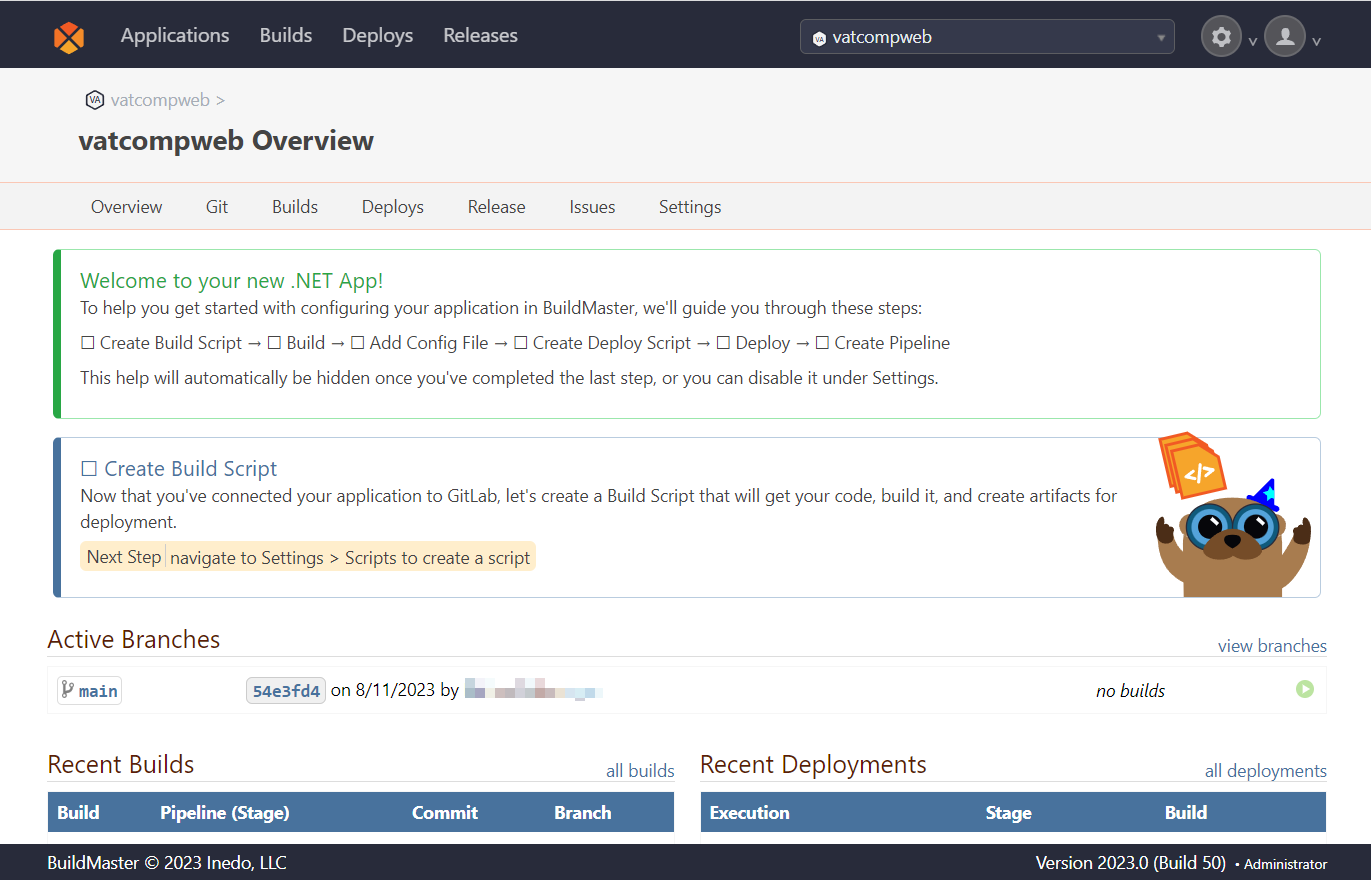
Your application has now been created. BuildMaster will guide you throughout the set up, and now suggests that you create a build script next.
Step 2: Create Build
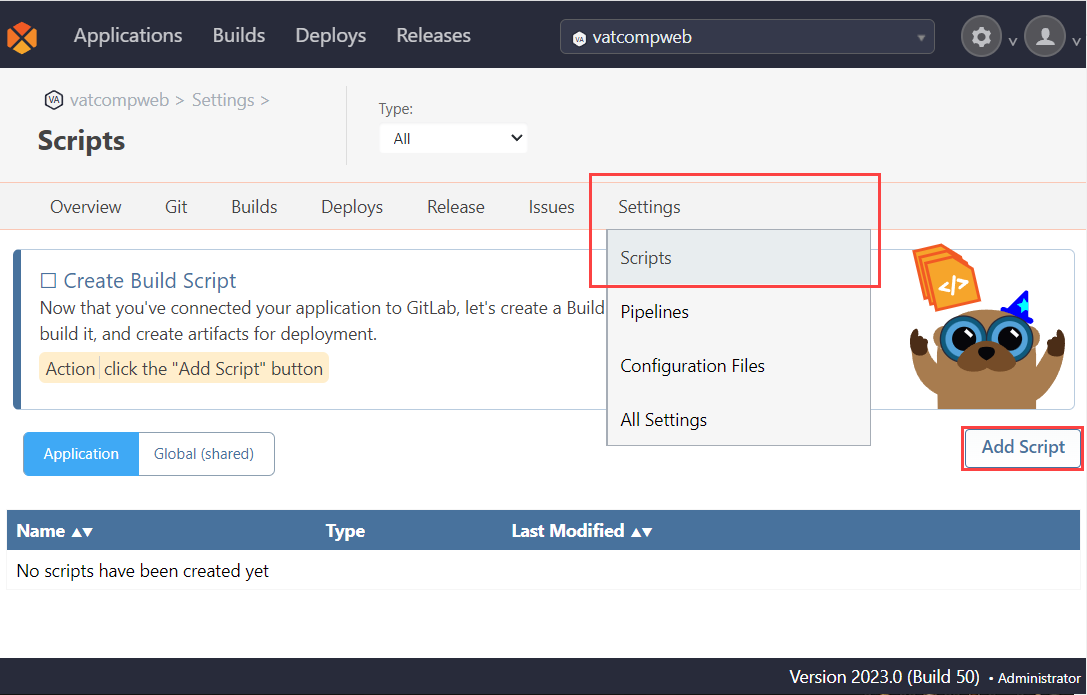
To create a build script. Navigate to "Settings" > "Scripts" and select "Add Script".
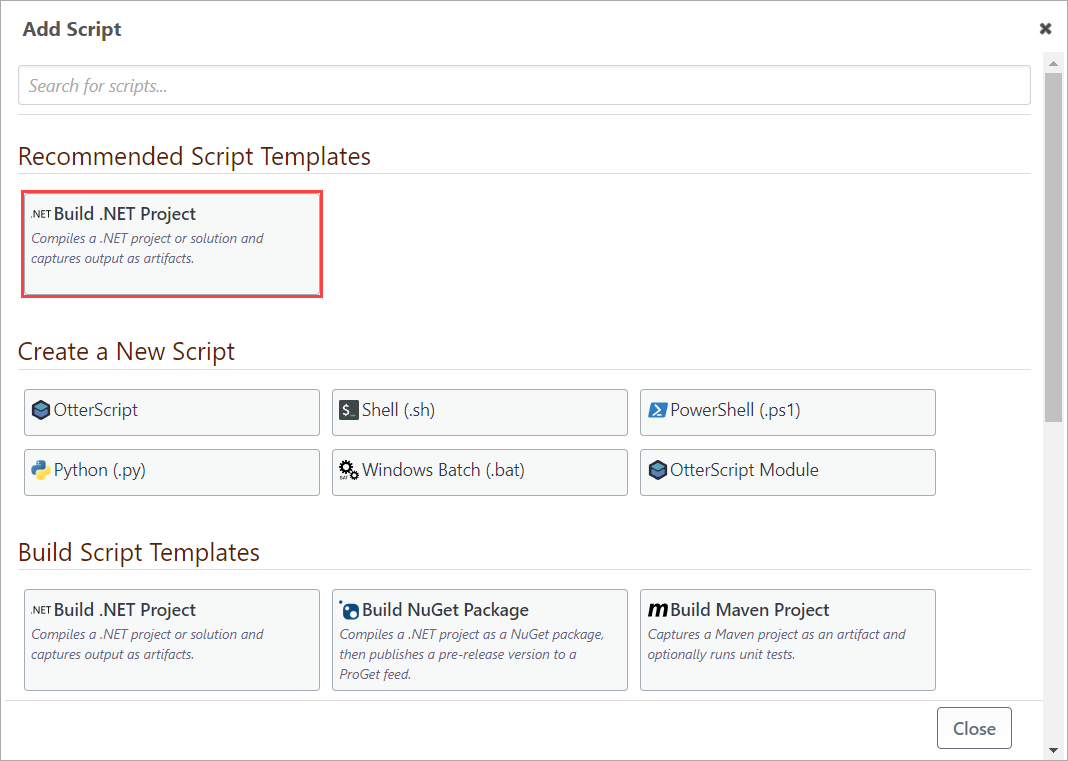
BuildMaster will offer a range of script templates. Again, BuildMaster will detect your application and offer recommended templates to use. As our application is in ASP.NET, select "Build .NET Project".
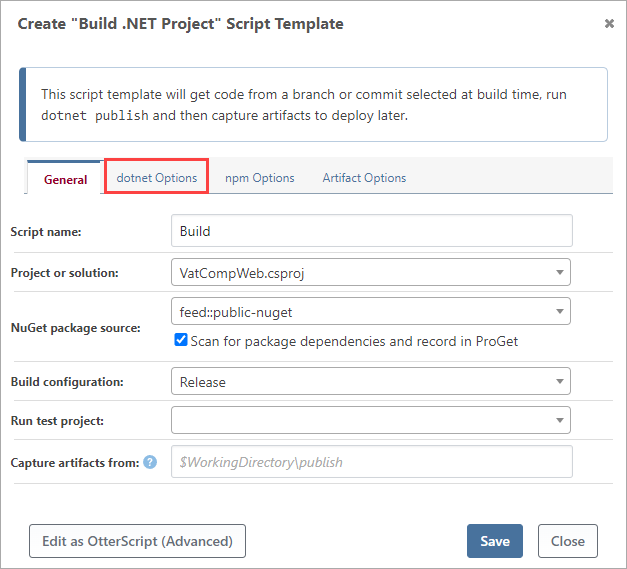
From here, first select your applications solution ".csproj" file.
Then, you'll need to select your Nuget Package Source. We recommend setting up a NuGet feed in ProGet and using that to manage the packages you use, For this example we have created one previously, that we named “public-nuget”, and will select that. For more information we recommend reading Packages and Dependencies to learn more.
For "Build Configuration" select "Release" as we are creating a release build.
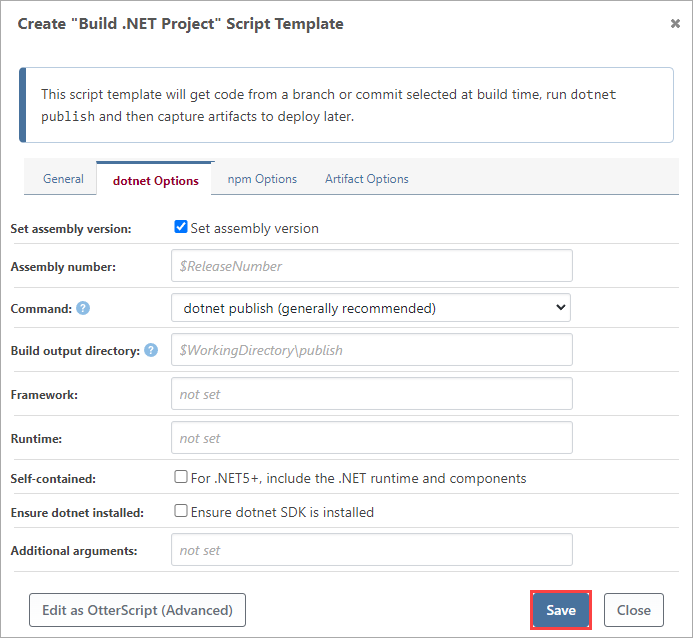
BuildMaster allows us to set dotnet specific options, so select the "dotnet options" tab.
Here You can specify "dotnet" settings based on your preference. BuildMaster allows you to edit your script using the built in OtterScript editor. You can read "Build .NET Project Script Template" here to learn more. For now, select "Save” to create the script.
Your build script has now been created. Now navigate to "Build", select "Create New Build" and select "Create Build" in the following modal.
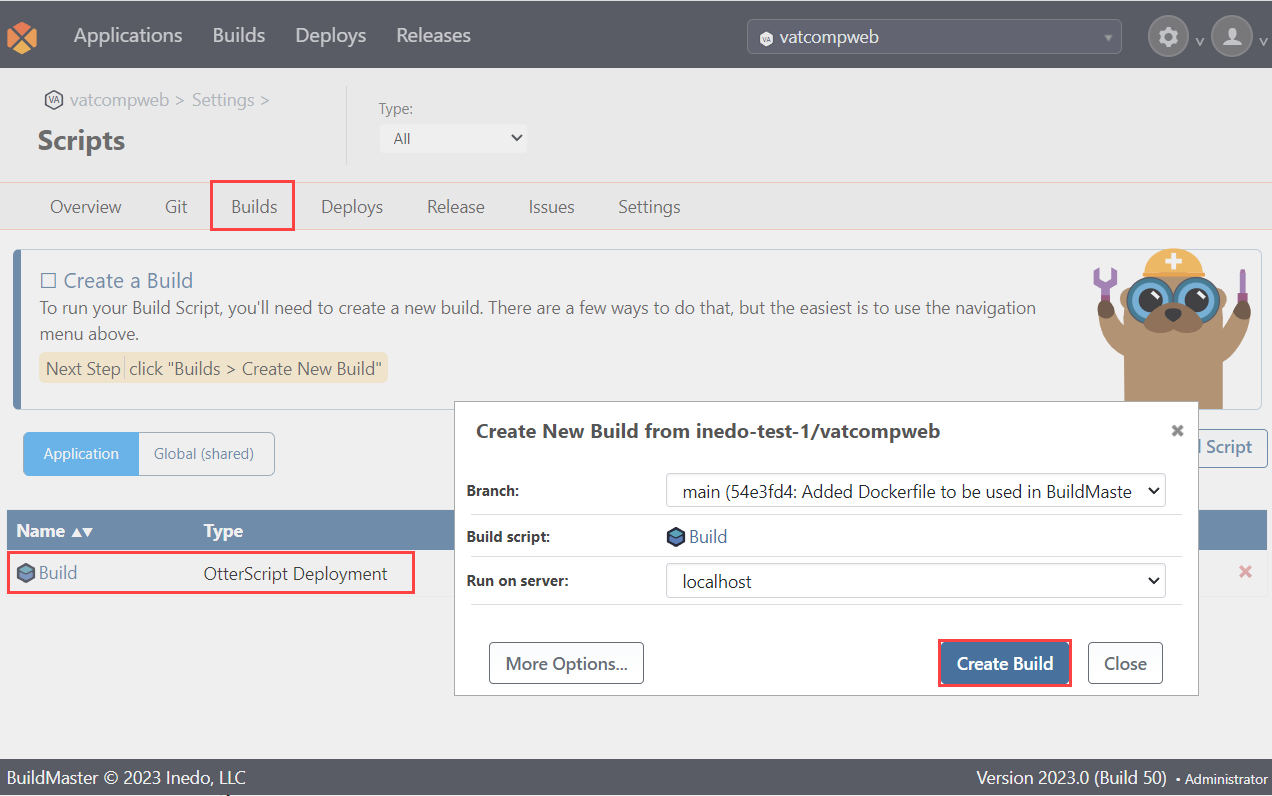
BuildMaster will then build your application.
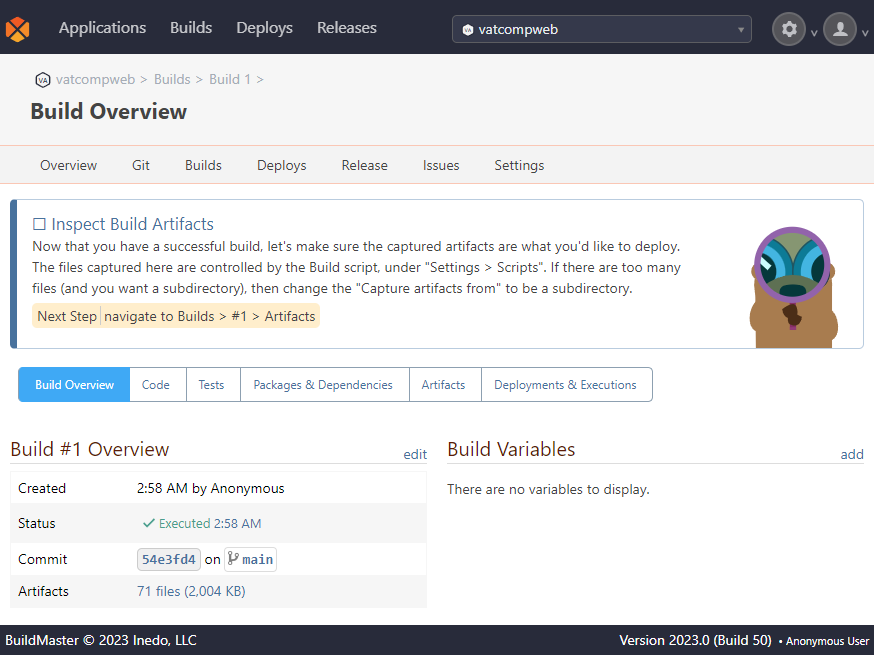
Step 3: Inspect Build Artifacts
In BuildMaster, Build Artifacts are the files added to the build after building/compiling your code that you intend to deploy/release.
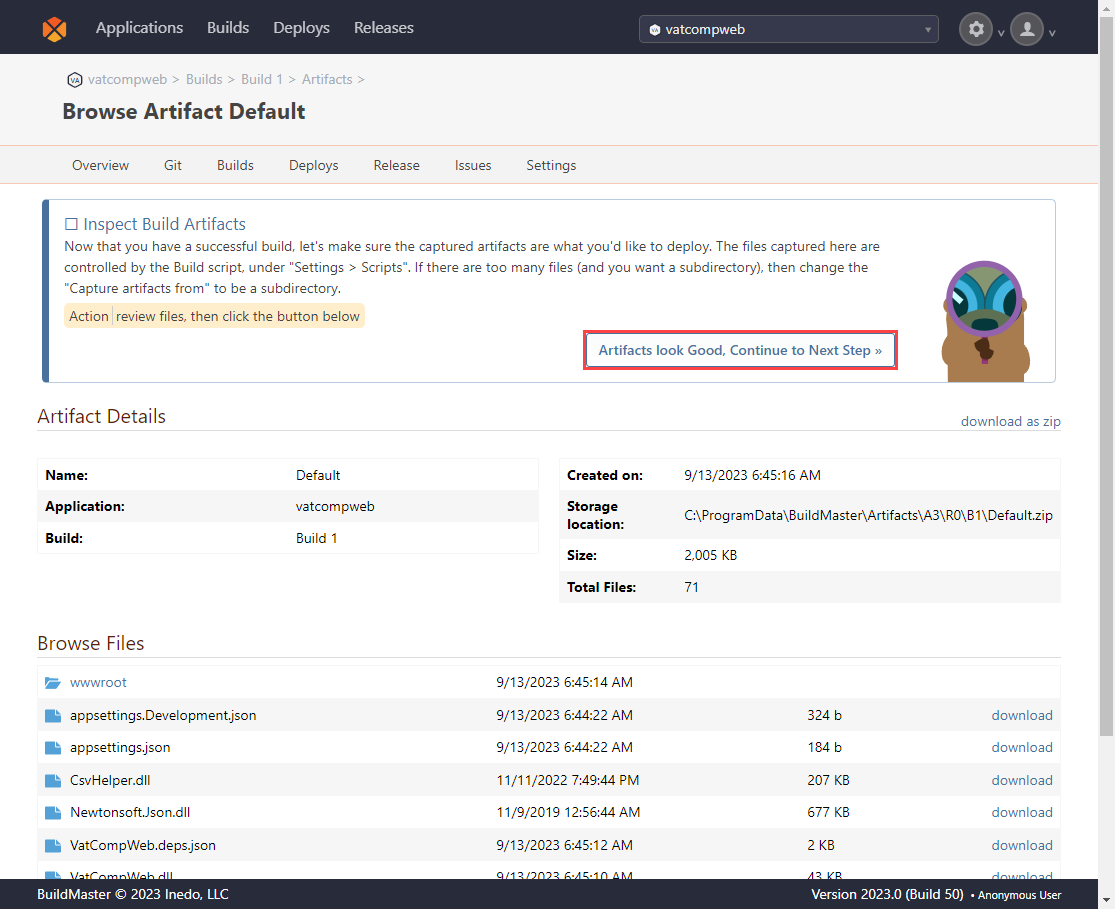
The next step will be to inspect and confirm them. Start by selecting the files link under the "Build Overview". From here, confirm the artifacts listed on the page by selecting "Artifacts look Good, Continue to Next Step", in which we will create a configuration file to support our application deployment.
Step 4: Create Configuration File
Configuration Files allow you set and deploy environment-specific configuration values without the need for code changes, manually logging into servers, or deploying the entire application.
To create one navigate to "Settings" > "Configuration Files" and then select "Create Application Configuration File". BuildMaster provides several configuration options. To view these, select "All Options".
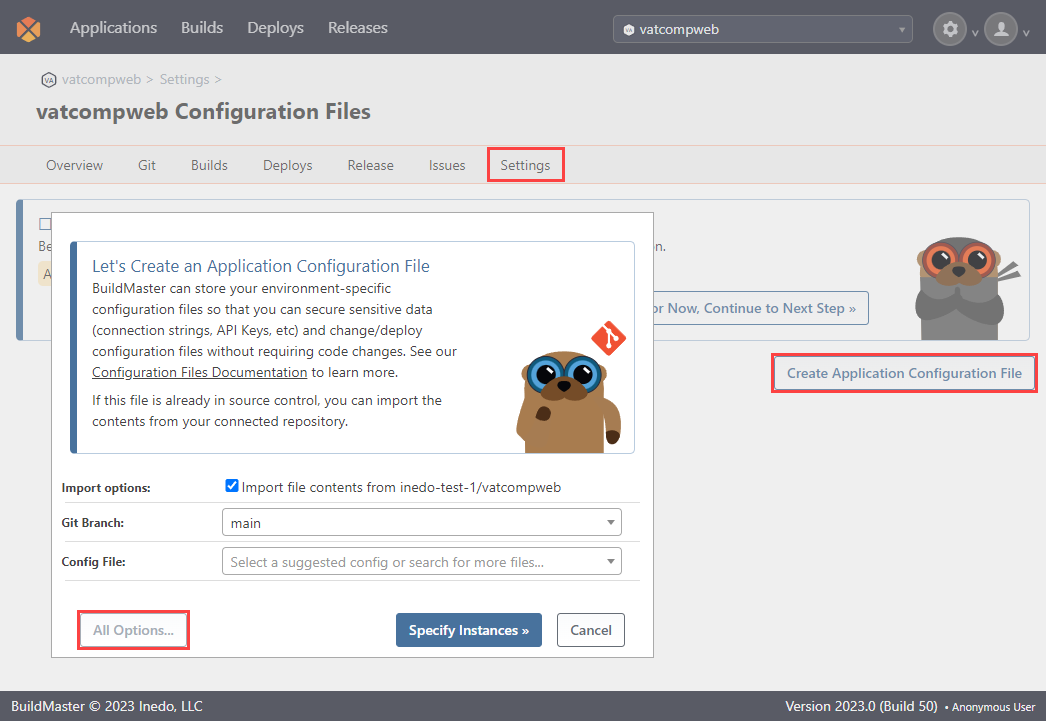
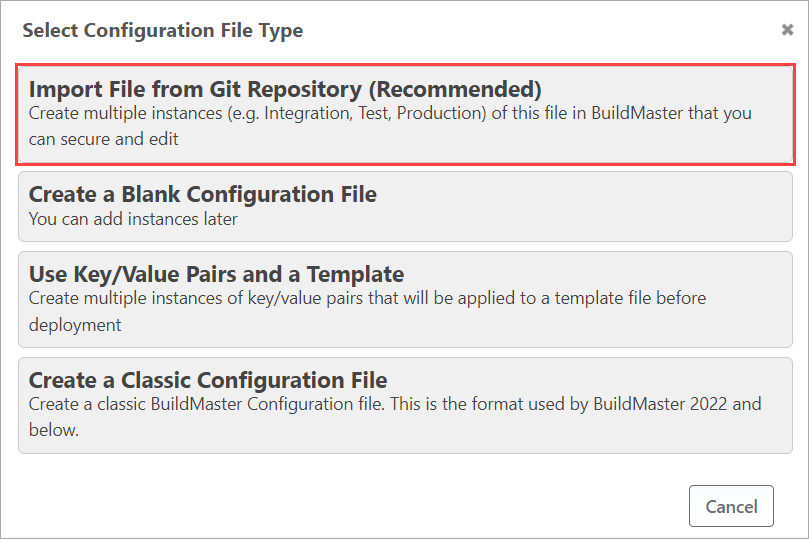
These options include the ability create a blank configuration file, instances that use key/value pairs, and the configuration format used in previous versions of BuildMaster.
Select "Import File from Git Repository (Recommended)" as we want to create multiple instances such as Integration, Test and Production in our deployment.
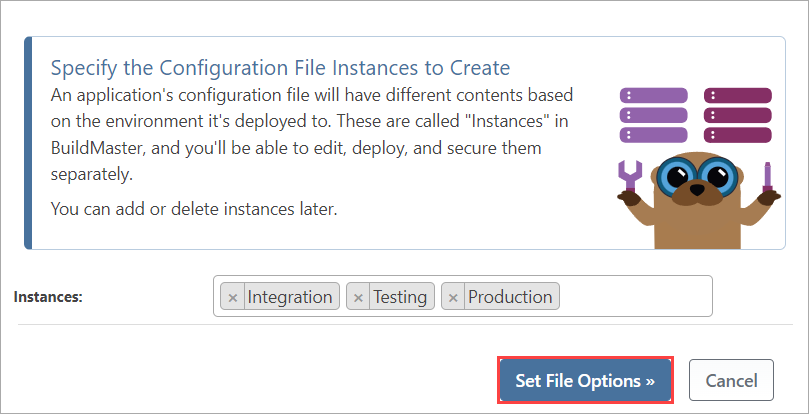
Select appsettings.json as your configuration file, and select "Specify Instances". BuildMaster will pre-specify the Integration, Testing and Production instances we need, so select "Set File Options".
We will now set several security and deployment options. The "General" Tab will allow us to specify the file name and create a description.
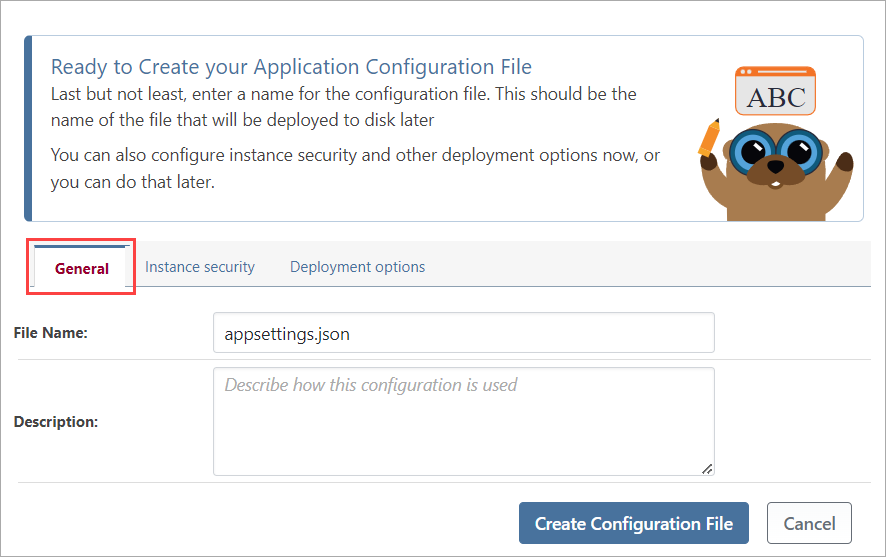
The "Instance Security" tab allows us to ensure the security of our environment by controlling who can view, edit and deploy our instances through restricting specific actions to specific instances.
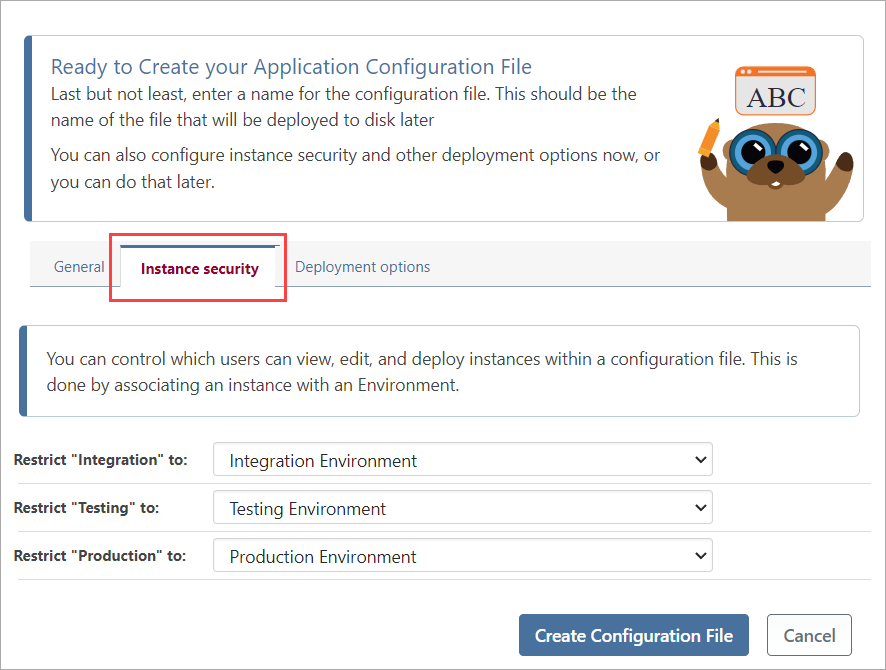
You can also specify deployment options which are covered in more detail on our Configuration Files page. For now though, select "Create Configuration File".
Step 5: Create Deploy Script
A deploy script in BuildMaster is used to deploy artifacts or packages that are created with a build script, which will be run during the several stages of the pipeline we will create later in this guide.
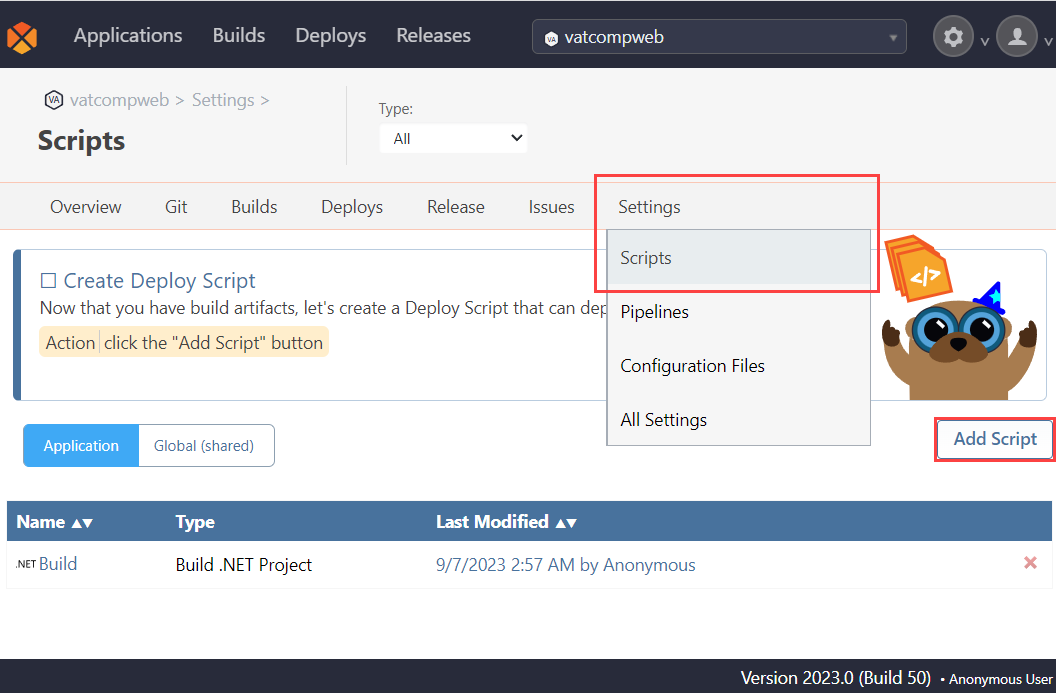
To create a deploy script, navigate to "Settings" > "Scripts" and select "Add Script".
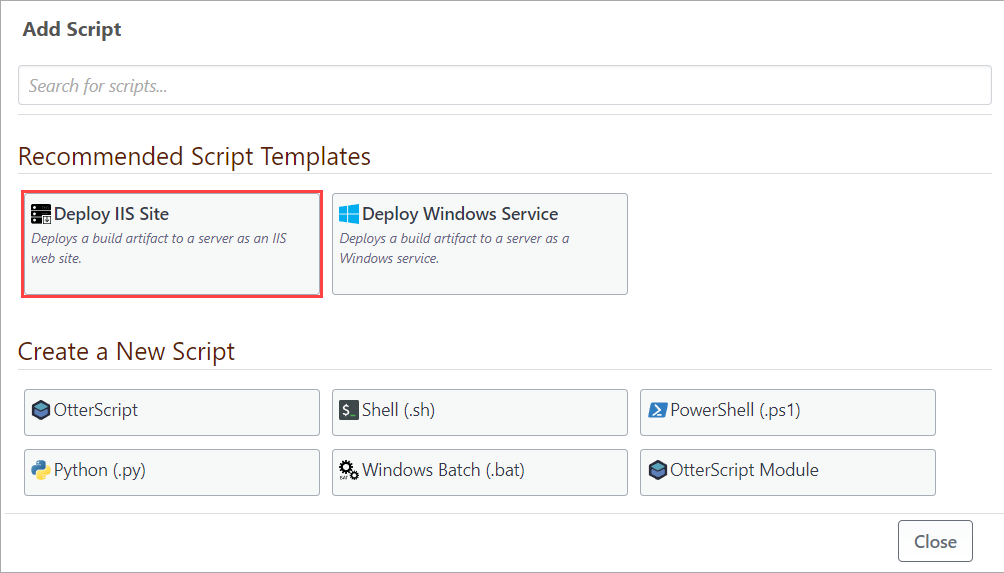
BuildMaster will recommend creating a Deploy IIS Site script, as we specified earlier, so select "Deploy IIS Site".
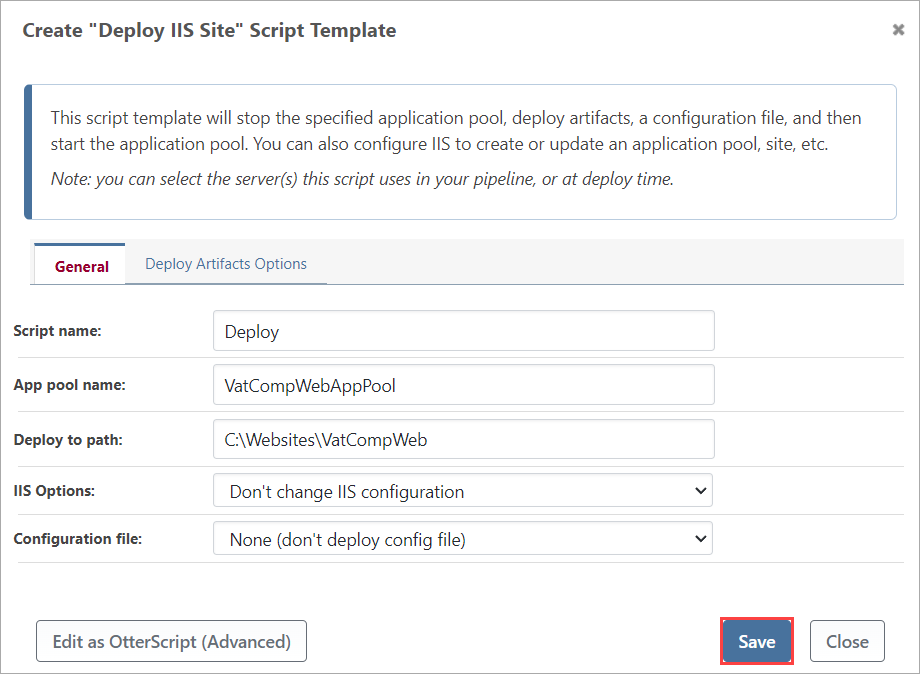
Here we will configure our script. We will call the App Pool Name VatCompWebAppPool and set the deploy path as C:\Websites\VatCompWeb, leaving the other options as-is. After entering these details, select "Save".
Now, deploy your application by navigating to "Builds" > "View Builds", selecting your build from the list
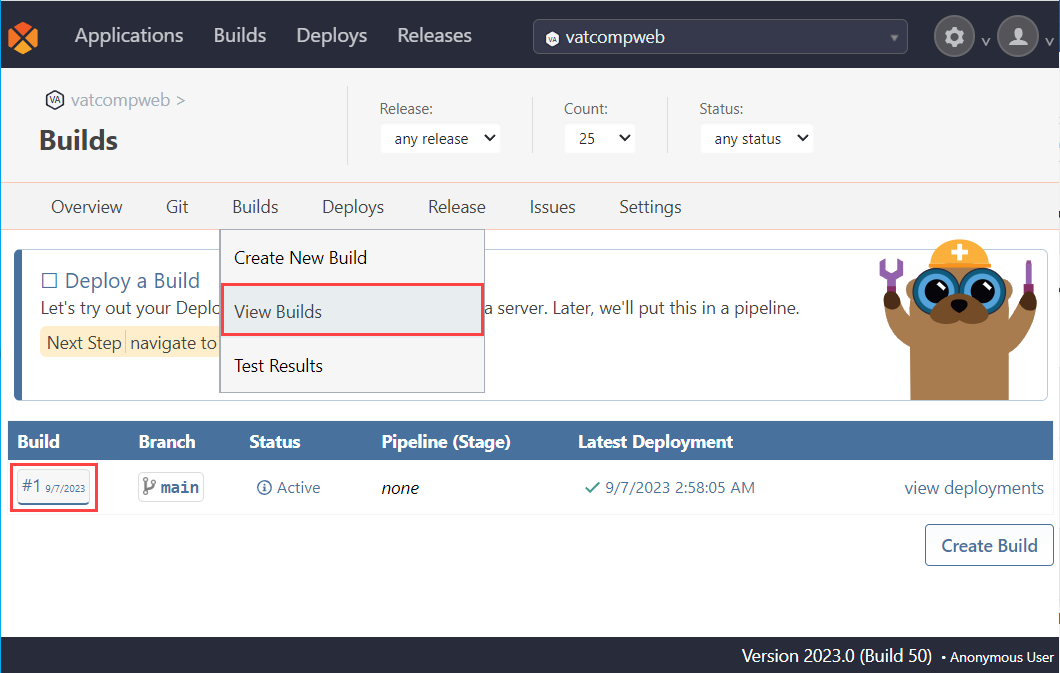
Then select "Deploy Build" on the build's overview page, and select "Run Deploy Script".


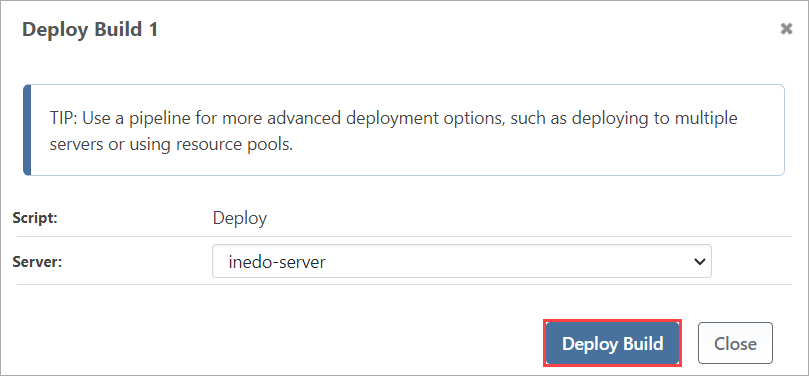
And finally select your server you named earlier and select "Deploy Build". This will deploy our application.
Step 6: Create Pipeline
Now we will create a Pipeline. In Buildmaster, pipelines are the servers and environments that your builds will be deployed to formed into repeatable release processes, including the manual and automatic approvals required at each stage of the process.
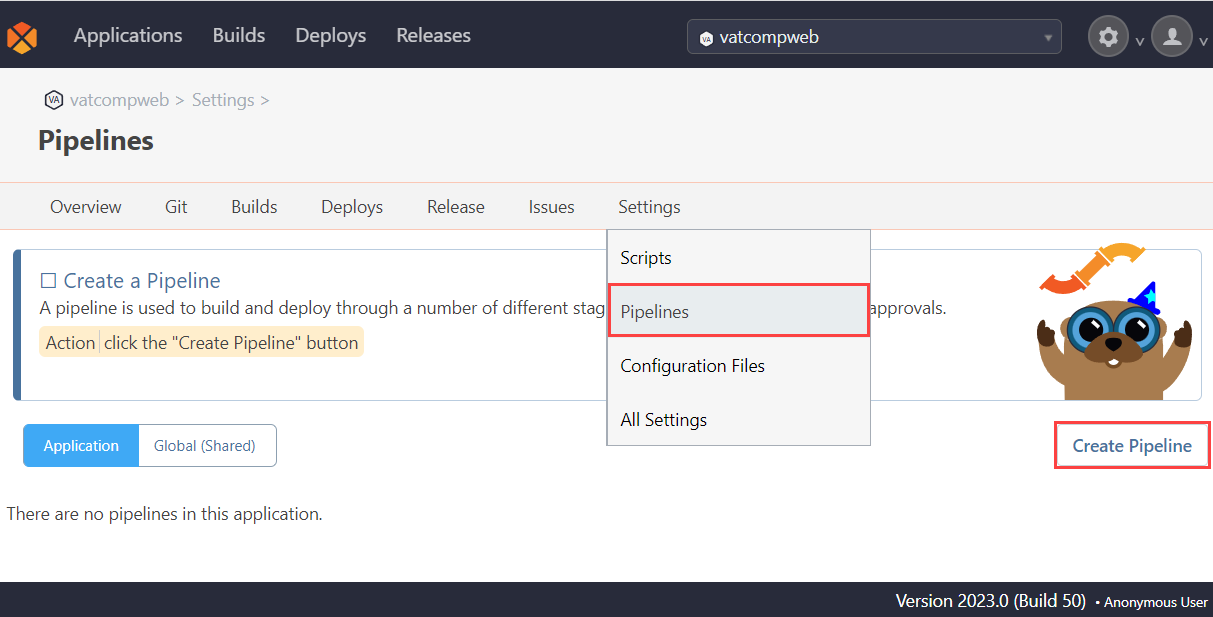
To create your pipeline, navigate to "Settings" > "Pipelines" and select "Create Pipeline".
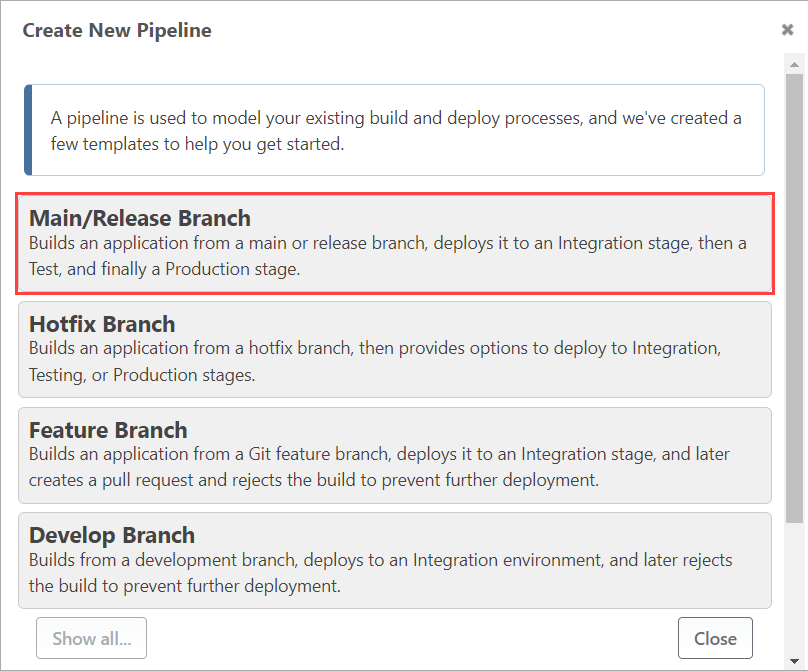
BuildMaster will once again offer options immediately relevant to our environment, with more available by selecting "Show all..". Select "Main/Release Branch" as we are creating a single, main pipeline for a release.
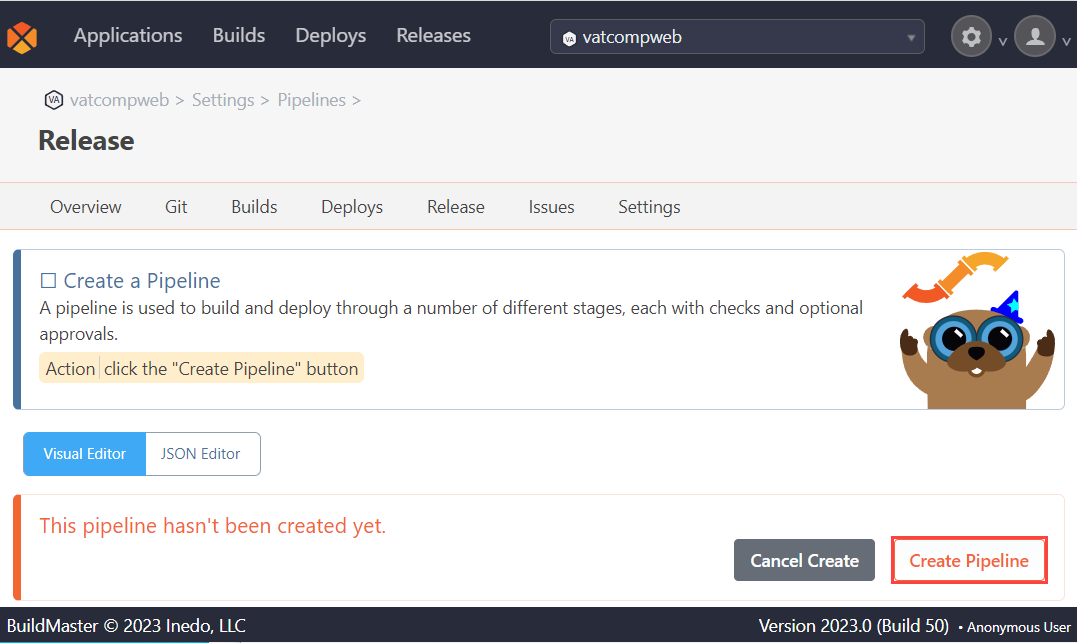
You will be redirected to your application's release page. From here select "Create Pipeline", which will create your pipeline.
Step 7: Create Release
Next we will need to create a Release. This is used to model and visualize a software release, that is, to create, test, and deliver code changes to a production environment in a consistent process, grouping related builds together under a common release number and deployment pipeline.
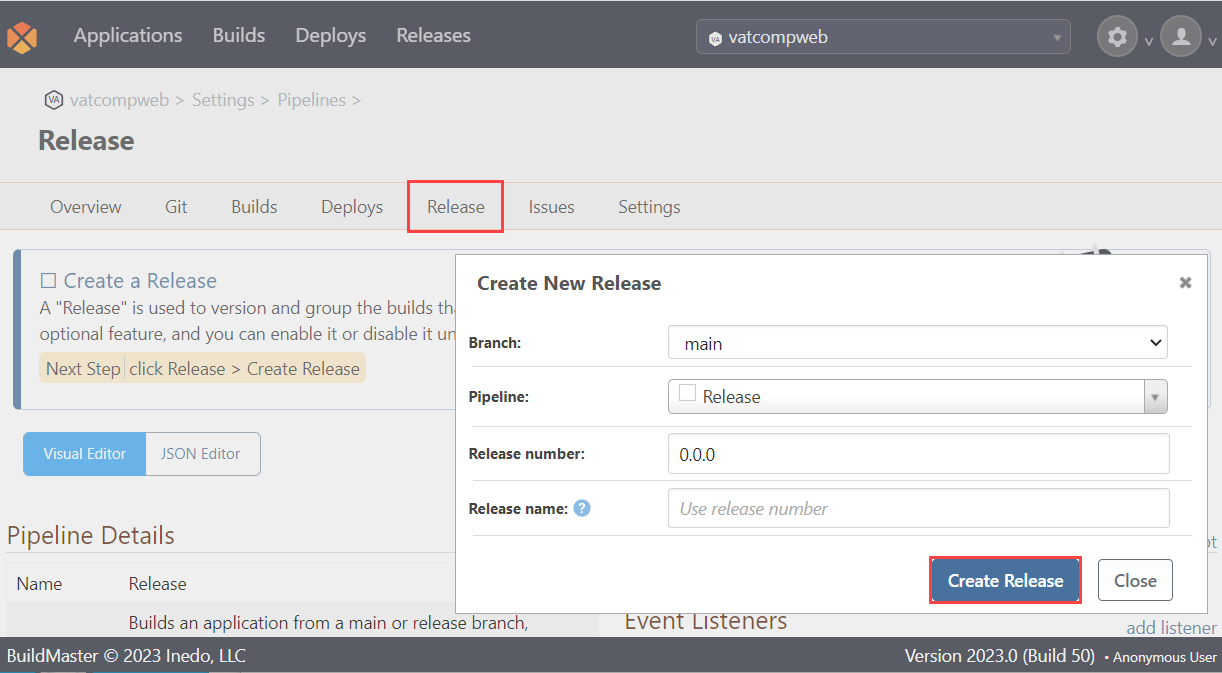
To create a release, navigate to "Release" > "Create Release". Specify the release "Branch", "Pipeline", "Release Number" and "Release Name", and then select "Create Release".
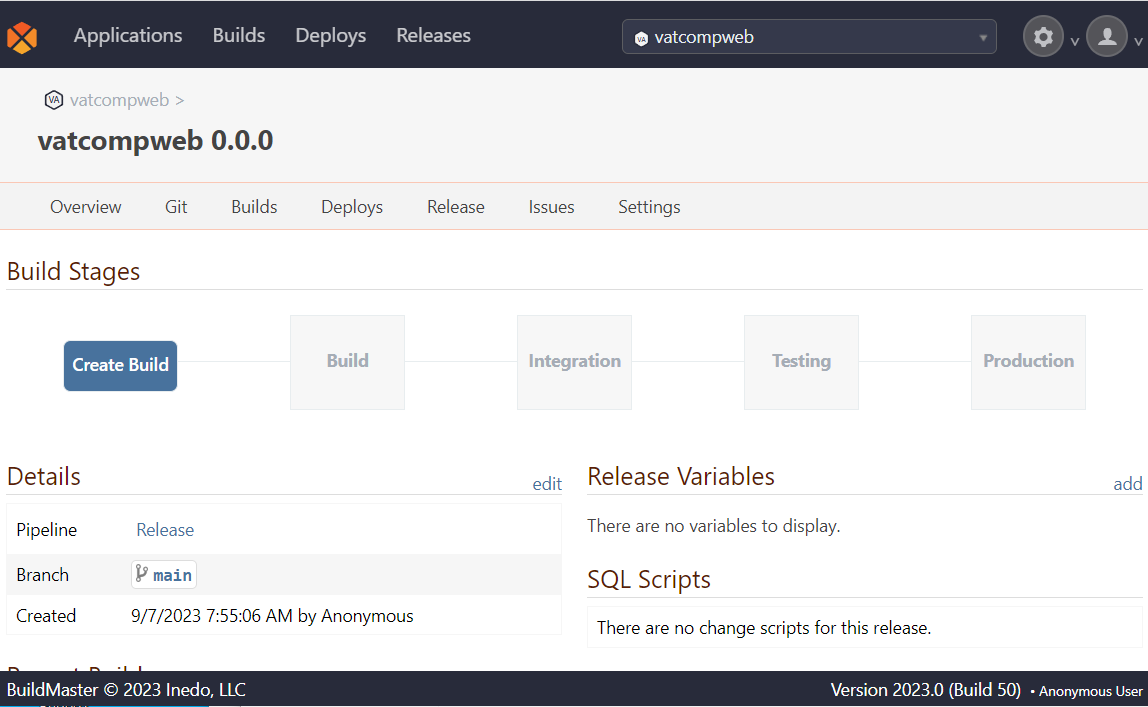
Your application is now set up, complete with the build stages ready in the pipeline you created.
Step 8: Add Issue Tracker
Finally, we will add an Issue Tracker to our application. This will automatically pull issues associated with our application, allowing us to see release notes, or prevent deployment if there are open issues.
To add an issue tracker, navigate to "Issues" and select "Connect to an Issue Tracker".
![]()
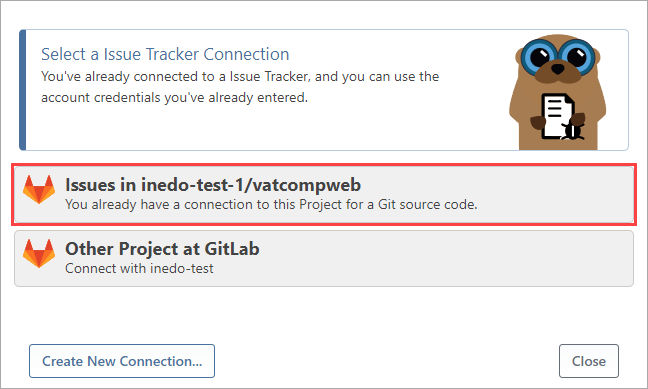
Now select the GitLab account that you connected to earlier, in this case we select "Issues in Inedo-test-1/vatcompweb".
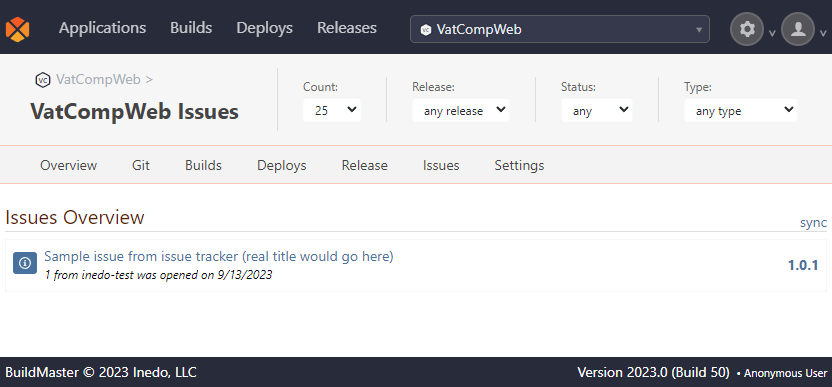
Release mapping will make sure GitLab Issue's "Milestones" field and the BuildMaster Release Number/Name are the same, to map BuildMaster's releases to GitLab versions. Keep the settings the same, and select "Save & View Issues".
![]()
You will now be redirected to the Issues page. If there are any current issues, they will be displayed here.