HOWTO: ProGet as a UI for Azure Blob Storage

Microsoft Azure's Blob Storage is a great storage option because it's easy to create and make public or private to others. While it's easy to manage, it has limited access for non-regular users. Azure's UI tends to change, so a link clicked today may change tomorrow.
ProGet can serve as a neutral interface for cloud storage options such as Amazon's S3 or Azure Blobs. It simplifies the use of a cloud storage service by allowing users to control when ProGet is updated and what changes are applied. It also makes adding or removing files from cloud storage easy for any user, anywhere, as long as they can access ProGet.
This tutorial explains how to configure an Asset Directory to use an Azure Blob as storage and ProGet as the user interface.
Step 1: Login to Azure
Sign up for or login to an Azure Account.
Step 2: Configure an Azure Storage Account
An Azure storage account is needed for this guide. If you already have one, skip to step 3.
In the Azure search bar, type “storage account” and select “Storage accounts.” On the following page, click [Create storage account]

On the Create Storage Account page, fill in the appropriate fields on the Basics tab as desired: Storage Account Name; Region; Performance; Redundancy.
Only the Basics tab is required for configuration, but feel free to fill in the other tabs as well.
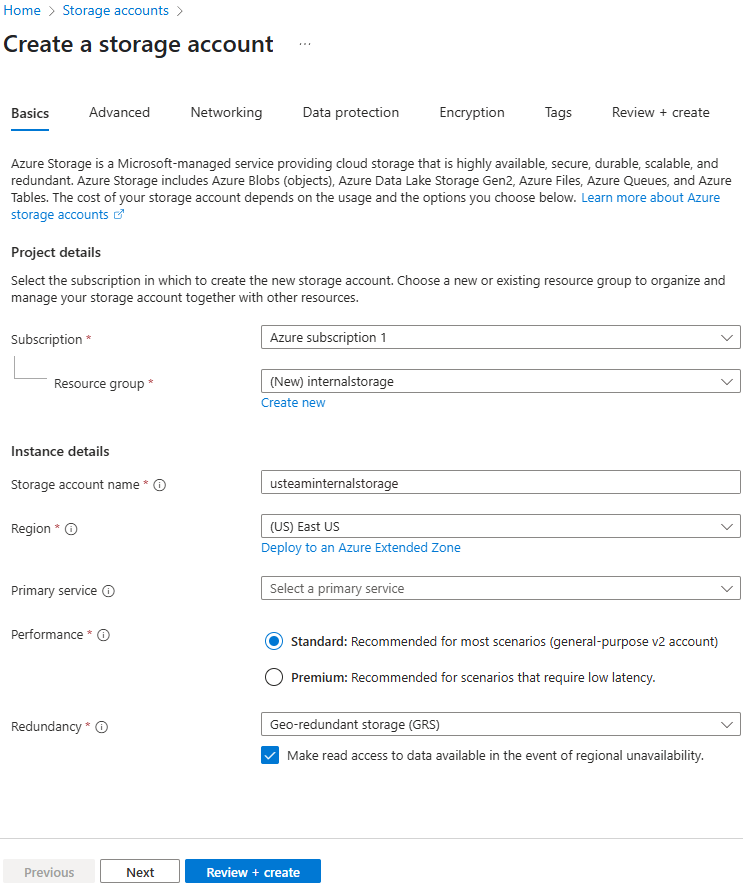
Once you’re ready, click "Review+create"
Step 3: Create a Container
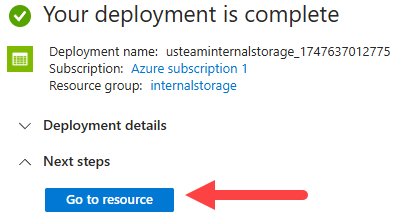
Once your deployment is complete, click [Go to resource] at the bottom of the page.
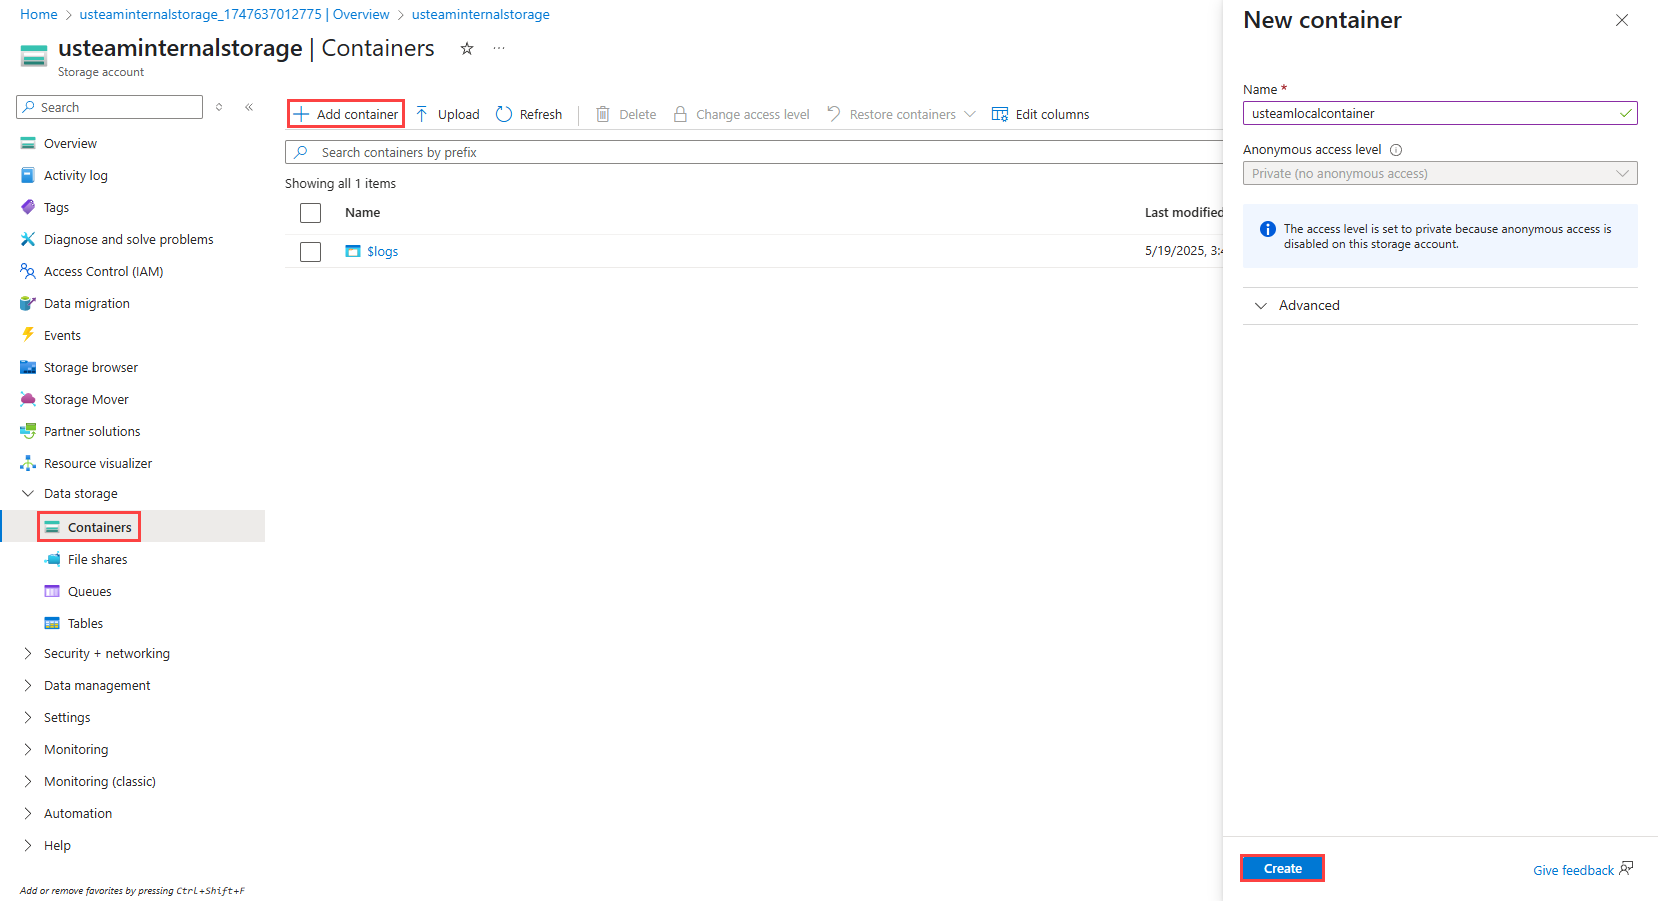
In the menu on the left side of the container page, click on "Containers" under “Data Storage.”
Then, click "Add container" to create a new container.
On the right side of the page, name the new container and choose an appropriate Public access level.
Click "Create" at the bottom right of the screen.
Once your container has been made, save the name for step 7.
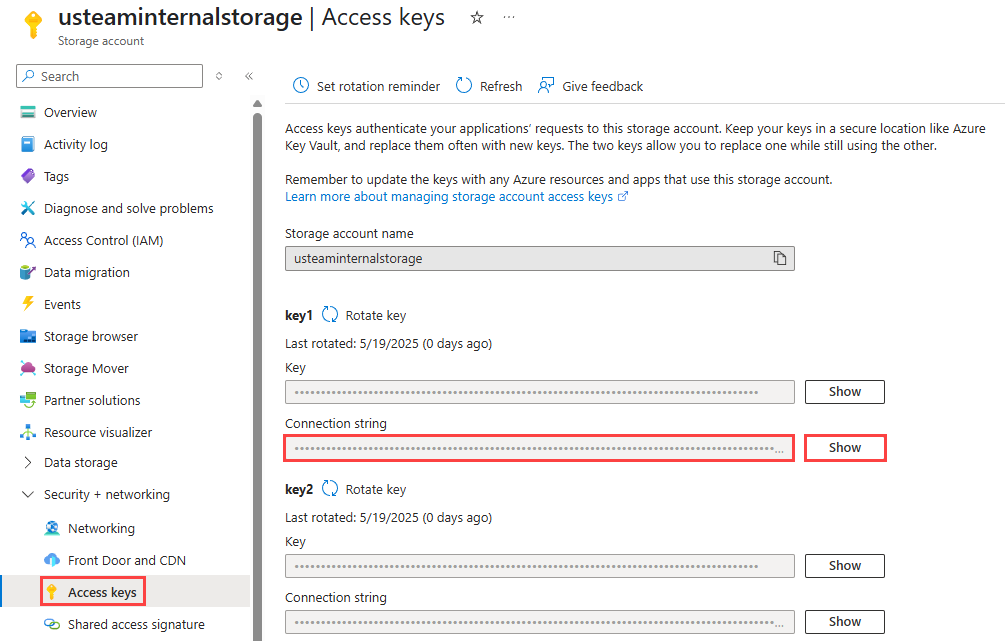
Step 4: Copy your Connector String
To connect the Azure Blob storage container to ProGet, you’ll need the the connection string of the container.
Navigate to the access keys tab on the left side of the screen.
Click "Show keys" and copy your connection string for step 7.
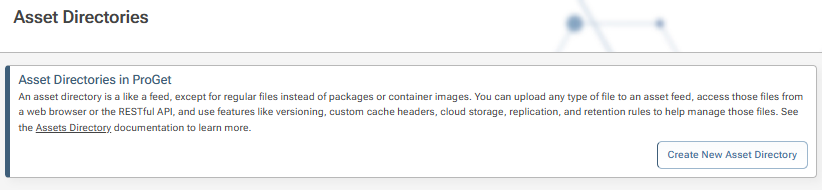
Step 5: Create a new Asset Directory
In ProGet, navigate to the Assets page from the top ribbon.
Click "Create New Asset Directory"
In the pop-up, name the Asset directory and, optionally, give a description.
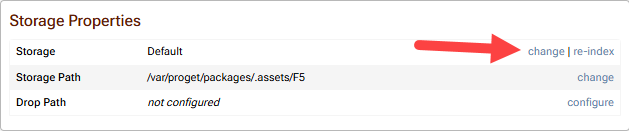
Step 6: Navigate Manage Feed > Storage and Retention
Once the asset directory is made, navigate to its Storage and Retention page.
On the “Storage” line item, click “change” at the far right.
Step 7: Configure the Azure Storage Container
A pop-up with two pages will appear.
On the first page, select “Microsoft Azure”.
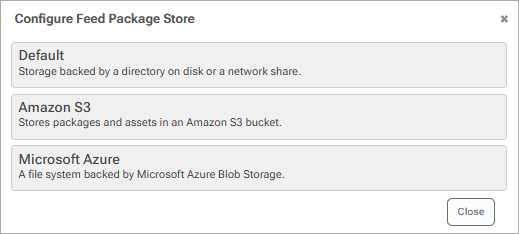
On the second page, paste your connection string from step 4 and your container name from step 3.
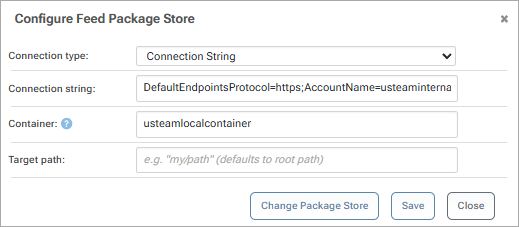
The destination path can be left blank; by default, the files are placed in the root directory of your storage container.
When complete, click "Save"
Your Azure Blob is now configured to ProGet.
Step 8: (Optional) Test your Blob and ProGet connection
You can verify that you have successfully connected ProGet to your Blob container by uploading files via ProGet and seeing them appear in Azure.
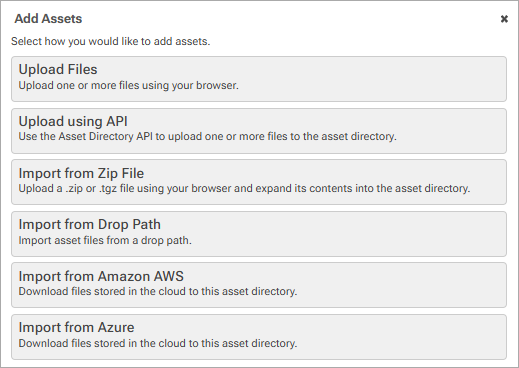
Navigate to the asset directory and add some files to it
Upload the files using your preferred method: via the browser, as a zip file, etc.
Depending on the file size and the server, it may take a few minutes.

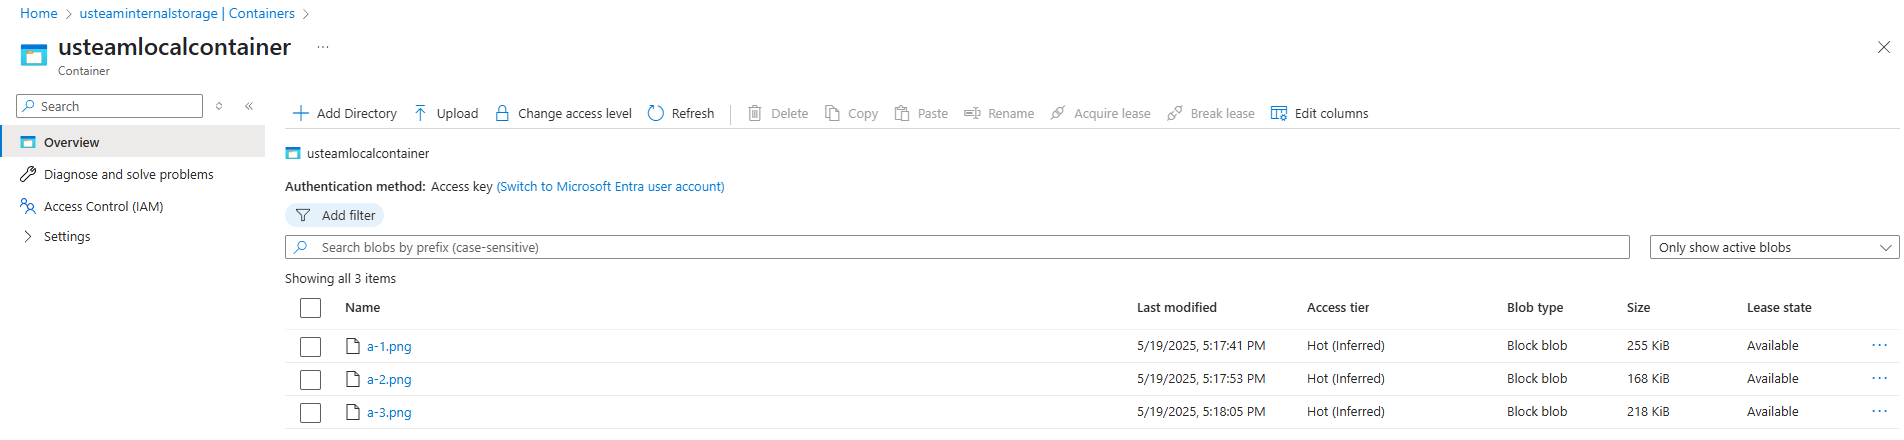
Once uploaded in ProGet, go to your Azure container and you’ll see the files have been populated.
Troubleshooting
Issue: Microsoft Azure is not a storage option
If you have reached step 7 and notice that there is no option to select Microsoft Azure, most likely the Azure extension is not installed.
Here's how to install the Azure extension:
- Please click on the gear icon in the banner
- Navigate to Integration & Extensibility > extensions
- Click on the Azure extension under Available Extensions
- Click on the "Install" button