Jira

By integrating BuildMaster with Atlassian Jira, you can help developers, testers, and business analysts work closely together by providing shared visibility into changes they're working on and using automation to facilitate immediate feedback. Ultimately this will help to:
- Reduce production errors by preventing deployments without fully tested issues
- Save time by eliminating tedious, manual status changes on issues
- Give testers more information about where their changes are deployed to
- Quickly identify the issues and changes that are blocking a release
- Create fully automated deployments using issue statuses as checks and balances
BuildMaster is designed to work especially well with Jira as an issue tracker.
Connecting to Jira
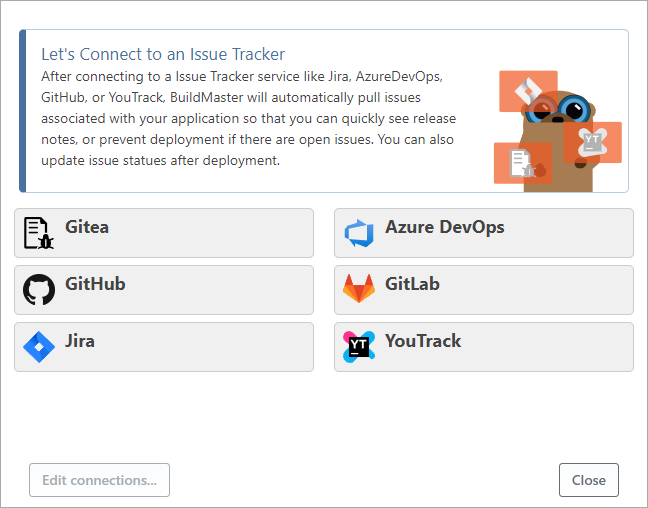
To connect your application to a Jira Project, navigate to the Settings page under your application. Then click "add" under Connections, and select "Issue Tracker Project".
After selecting Jira, you'll be promoted to enter your Jira Server URL, Username, and API Token. Then, you'll be able to select a project and configure how issues will be mapped to releases.
Associating Issues with BuildMaster Releases
To associate issues with your Jira issue source, the following fields need to be configured:
- Project name - should be the key (e.g., PG for ProGet)
- Fix for version - used to associate Fix Versions in Jira with release numbers in BuildMaster (typically
$ReleaseNumber) - Custom JQL - for advanced users, you can use a custom JQL query to associate issues e.g.
project = "$ApplicationName and fixVersion = "bm-$ReleaseNumber"
Pulling Issues to BuildMaster
BuildMaster will also periodically pull issues from your Jira project to BuildMaster's own, built-in issue tracking system. Consider this a fail-over, an additional place to keep track of issues. You can view these by going to the "Issues" tab on the application navigation bar.
This issue source tracks the following information about each issue:
| BuildMaster Term | Jira Field | Description |
|---|---|---|
| Release | Fix for version | a specific release of a BuildMaster application |
| Issue ID | ID | a human-readable identifier, such as HDARS-1281, sometimes referred to as the "visible ID" |
| Type | Type | the category of issue, such as Bug or Feature |
| Status | Status | the issue's status, such as Open or Resolved |
| Closed | Resolved | a true/false value that indicates the issue is "closed" |
| Title | Summary | a brief description of the issue, such as "FIX: Account Status may be incorrect" |
| Description | Description | a longer description of the issue, containing details |
| URL | URL | URL directly linking to the issue in the tool, so that it can be clicked on from the BuildMaster user interface |
Manual Synchronization
See Manual Synchronization for details on manually refreshing issues for an issue source.
Blocking Deployments with Untested/Unresolved Changes
Once you've connected BuildMaster to Jira, the next step should be ensuring that releases with unclosed or unresolved issues aren't deployed. This is an incredibly important part of "pushing left," making sure that problems are caught earlier in the CI/CD process where they are cheaper and faster to repair and are less damaging to the business.
This can be done by configuring one of two automated checks on your release pipeline that will prevent builds from being deployed to a particular stage unless all issues are closed. You can also permit builds to move forward after a certain status such as "Resolved" appears. Prior to deployment, these approvals will evaluate each issue associated with the release and block the deployment if the approval is not met or is unresolved.
BuildMaster supports two automated checks out of the box, checks that can be used without further configuration once Jira is set up to associate issues. These use the following automated checks:
- All Issues Closed - ensures that deployments are blocked to a certain pipeline stage unless all issues have a resolution date in Jira
- All Issues in Status - ensures that deployments are blocked to a certain pipeline stage unless the "status" field in Jira matches a specified status defined in a BuildMaster pipeline
Like all automatic approvals, a build may be forced into a stage even if issues aren't closed or aren't in the appropriate status. However, this requires a special action and a specific permission to be manually taken by an actual person. In other words, forcing a build forward despite being blocked on issue status is not an automated process.
Automatically Changing Issue Status
Updating an issue's status is commonly done to indicate that an issue was deployed to a new environment and is ready for the next action (e.g.,"ready for testing") or has passed the previous stage (e.g., "approved by QA") if an automated check is configured in a BuildMaster pipeline.
After you've connected BuildMaster to Jira, you can use BuildMaster to automatically change issue statuses as part of a deployment using operations in OtterScript. BuildMaster reduces the tedious labor of changing issue statuses after a deployment (e.g., moving all issues from "In Progress" to "Ready to Test"). Additionally, the strength and ease of BuildMaster's Jira integration harnesses the full, best functionality of Jira: its highly customizable issue workflows.
Example: Jira::Transition-Issues Operation
Use the Jira::Transition-Issues operation and supply the new state:
Jira::Transition-Issues
(
    Credentials: Jira,
    From: In Progress,
    To: Ready to Test
);
Once you run this operation, every issue associated with a given release in BuildMaster will automatically be updated when deployed to the specified stage in BuildMaster. Those working only in Jira and not also in BuildMaster, would see the updated issue status without having to rely on a release manager or to use all the same tools across the team.
Creating New Issues Automatically
Many teams use Jira for more than just code changes. Jira's flexiblity means it can be used to model virtually any business process, such as deployment tracking. For example, unlike working in the source code, locating auditing information (e.g., when something was deployed and by whom) does not require a high degree of technical know-how to use, because all information is within the issue itself.
Teams are already familiar with the process of creating new issues, but they want to automate it. BuildMaster lets you model this workflow by automatically creating and linking to issues. This saves the manual effort of creating new issues and also avoids the human errors that manual processes allow.
Example: Jira::Create-Issue Operation
Some organizations use issues as a way to track deployments throughout a release. This way, business and testing teams can see the progress of deployments, report problems on that issue, and be alerted of status changes using the issue tracking tool's notification features.
Although issue tracking tools aren't really designed for this, it's generally easier to just automate your existing process instead of forcing a new process. This is easy to do with BuildMaster: you can use an operation to create an issue:
Jira::Create-Issue
(
    Credentials: Jira,
    Project: HDARS,
    Title: QA Testing Required for $ApplicationName,
    Description: This issue was created by BuildMaster on $Date,
    Type: ReadyForQA,
    JiraIssueId => $JiraIssueId
)

Set-BuildVariable DeploymentIssueId
(
    Value: $JiraIssueId
);
The second operation will then set $DeploymentIssueId as a build variable, which means it will be not only visible on the build page, but you can also use it in all future deployments on that build.
You can then use the $DeploymentIssueId in later operations to automatically change issue status.
Tip: Use a Variable Renderer for User-friendly Display
You can do this in BuildMaster with Variable Value Renderers. These are essentially instructions for how to render variables in the UI that have certain names (such as $JiraIssueId). Because you can specify HTML in a value renderer, you link directly to your issue tracker. This provides easy navigation for users.
An example renderer HTML that links back to Jira would be:
<a href="https://jira.internal.corp/browse/$JiraIssueId">$JiraIssueId</a>
BuildMaster 2022 and Earlier
You'll need to install the Jira extension by navigating to the Admin > Extensions page in your instance of BuildMaster and click on the Jira extension to install it.
If your instance doesn't have Internet access, you can manually install the Jira extension after downloading the Jira Extension Package.
Prior to Issue Tracker Projects, a combination of Issue Sources and Resource Credentials are used to connect BuildMaster to Jira. Installing the Jira extension will allow you to create a:
- Resource Credential that contains a server URL and username/password to connect to your Jira server
- To connect, the Jira server URL is required, which for hosted installations follows the format:
https://jira.internal.corp
- To connect, the Jira server URL is required, which for hosted installations follows the format:
- Issue Source that identifies which Jira issues belong in which BuildMaster release as outlined below
Both Resource Credentials and Issue Sources can be configured at the application level, the application group level, and the system level. This means you can have multiple issue sources per application or use one issue source for multiple applications, and they can all use the same resource credential.
Variables and Legacy Issue Sources
BuildMaster will automatically and periodically perform one synchronization for each active release in the system. This means that a release is always "in context," and you can use any of the variable functions that rely on a release to be in context: $ApplicationName, $ReleaseNumber, $ReleaseName, $ReleaseNumberPart(), etc.
You can also use any configuration variables that are accessible from a release context: release, application, application-group, or system.