NuGet Packages

BuildMaster can help consume and publish NuGet libraries from private feeds on ProGet or another private NuGet server.
NuGet is primarily used for free and open-source .NET libraries hosted at NuGet.org. A private NuGet server like ProGet lets you host your own packages without making them public. It also can scan open-source packages for vulnerabilities and licensing issues, so you don't use unwanted packages in your applications.
This article shows you how to integrate private NuGet package feeds into your .NET build process, as well as how to build and publish your own packages using CI/CD.
Connecting to a Private NuGet Feed
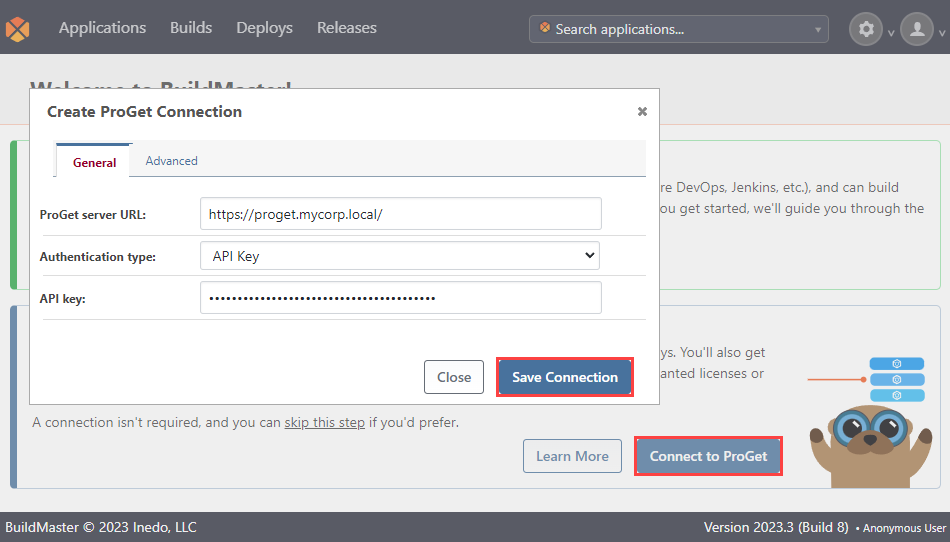
Connecting BuildMaster to a private NuGet feed hosted in ProGet is easy. To do this you will need to connect your BuildMaster instance to your ProGet instance.
First, you'll need to create an API key in ProGet by navigating to "Admin Overview" > "API Key". Then from BuildMaster, you can either follow the prompt to connect to ProGet shown when you first access your instance or manually navigate to "Admin Overview" > "ProGet Integration".
From here you can enter your ProGet API key to connect BuildMaster with ProGet.
After connecting, you'll now be able to select appropriate NuGet feeds when needed.
You can also connect to other (i.e. non-ProGet) feeds by navigating to "Admin Overview" > "Resources", and adding a NuGet feed resource.
Consuming Packages from a Private NuGet Feed
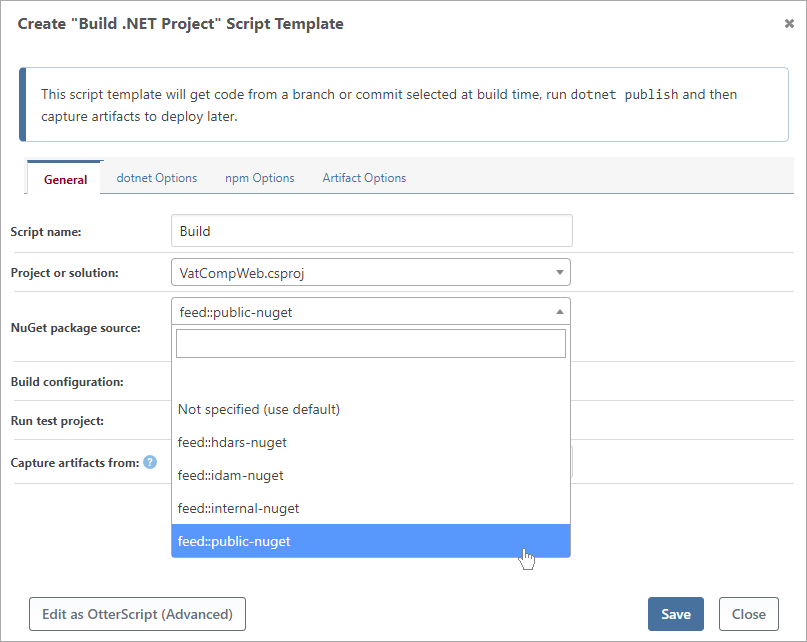
After you add a private feed, you can select it when building packages.
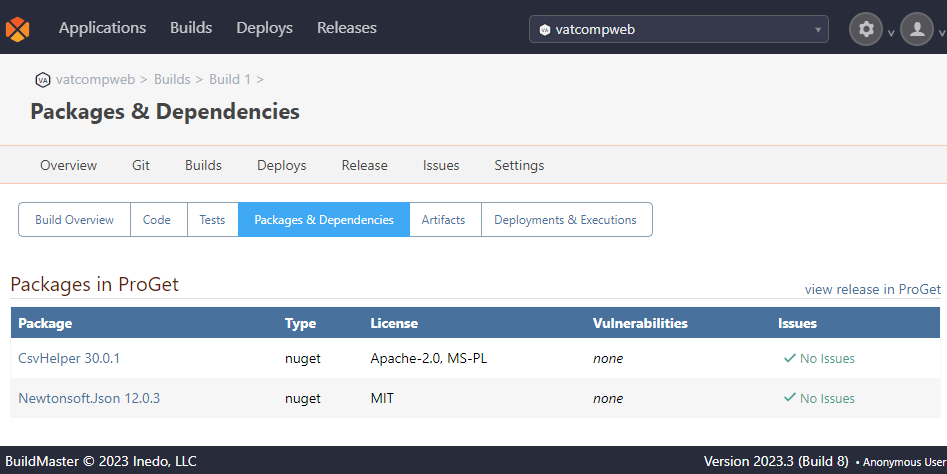
From a BuildMaster Build you can also see a list of consumed packages from the “Packages and Dependencies” Tab.
Building & Publishing NuGet Packages (CI/CD)
CI/CD for NuGet presents two particular challenges:
- An overwhelming number of packages, many of which will never be used.
- Restrictions that leave teams unable to use approved/tested pre-release packages in production.
BuildMaster makes this easy by following the practices from How to Use CI/CD Pipelines for Your NuGet Packages using prerelease versioning and repackaging.
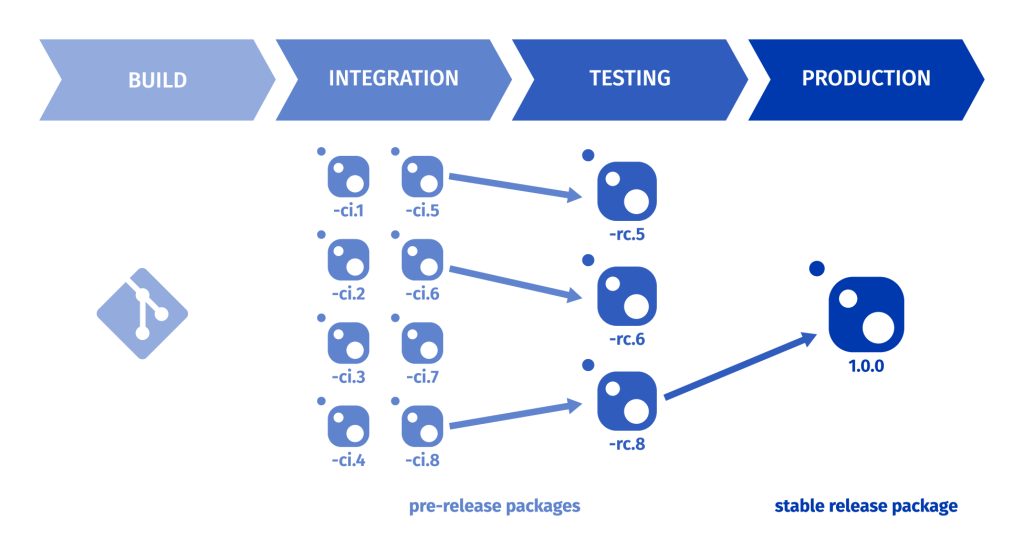
Repackaging creates a new package from an existing package, using exactly the same content but changing the name. For example, Build 8 yields 1.0.0-ci.8 for testing; once approved and repackaged, a release candidate, 1.0.0-rc.8 is created. Then finally, a stable version, 1.0.0 will be created for deployment in production applications.
Step-by-Step: CI/CD for NuGet
In this section we will create a NuGet package in Buildmaster, using an ASP .NET application hosted in a GitLab repository called "VatCompLib".
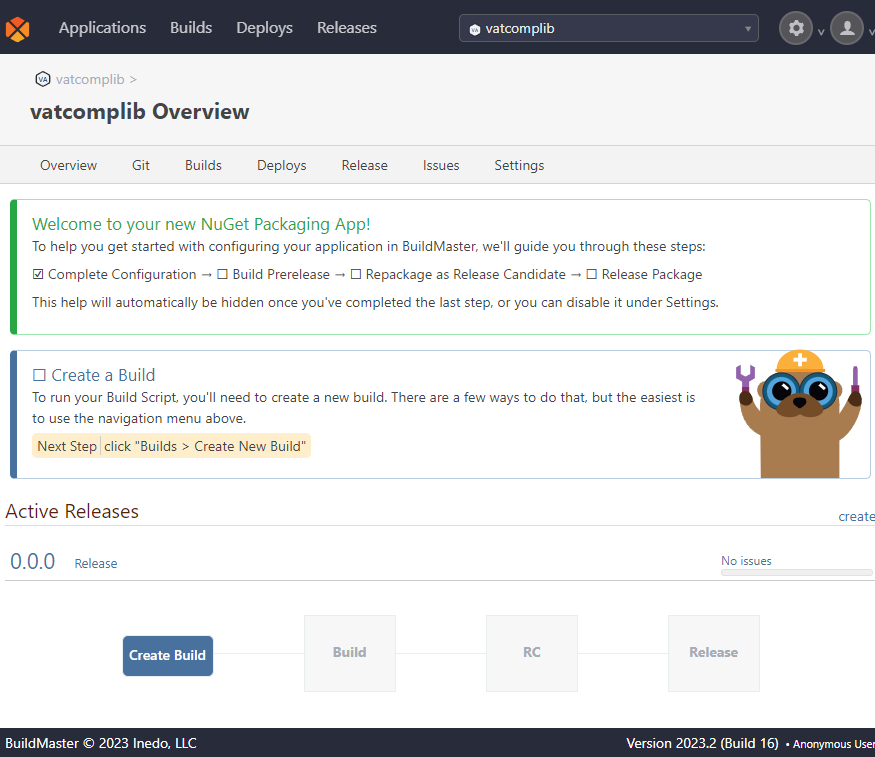
This application contains libraries, necessary for a NuGet package. BuildMaster comes with an inbuilt wizard that will also walk you through these steps.
Step 1: Create application
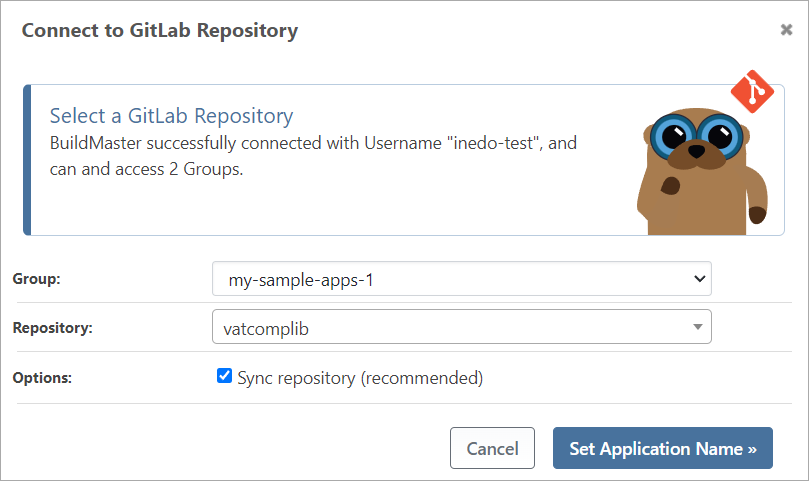
Start by creating a new application by navigating to "Applications" and selecting "Create Application". After specifying the source and source control of your GitLab-hosted application, select the Group and Repository, and then select "Set Application Name".
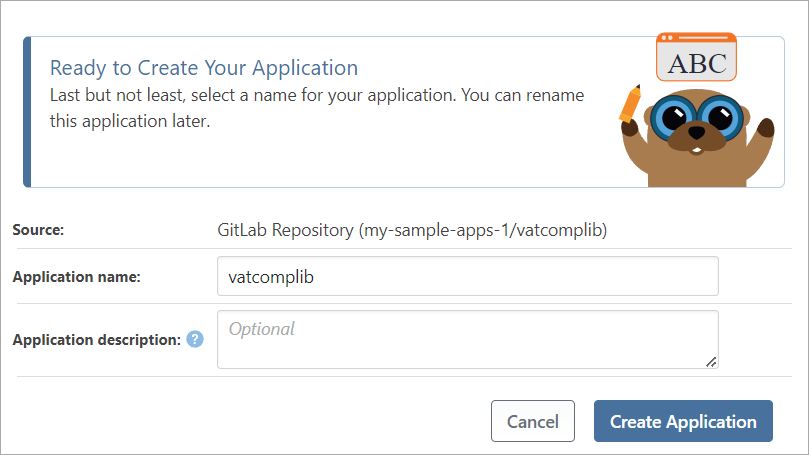
Select a name for your application. You can also choose to enter a description of your application. We are keeping the name the same as our application and calling it vatcomplib. Once you have entered the application name, select "Create Application".
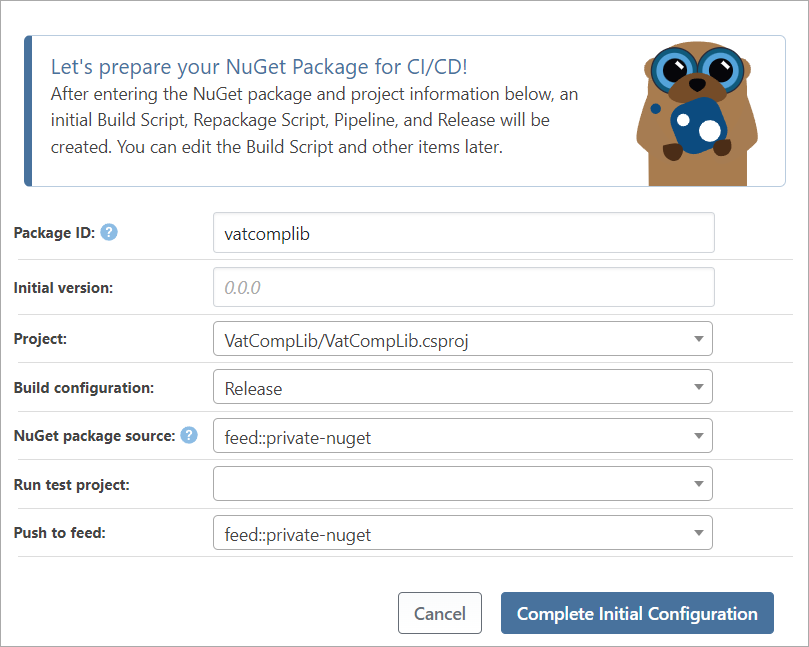
After selecting our development platform, container and deployment options, we will prepare the initial configuration. For "Project" select your .csproj file of your application. Then from "Build Configuration", select "Release".
In this guide, we will be setting both the "NuGet Package Source" and "Push to Feed" as a feed we have created on ProGet called private-nuget.
Our application has now been created.
Step 2: Create Build
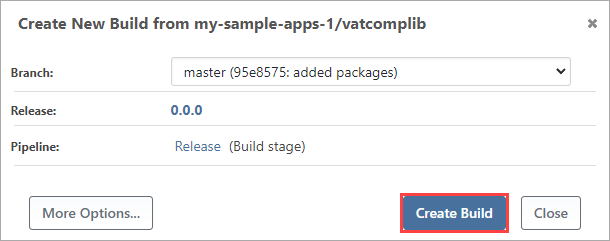
Now we will create our build. Navigate to "Builds" and select "Create New Build".
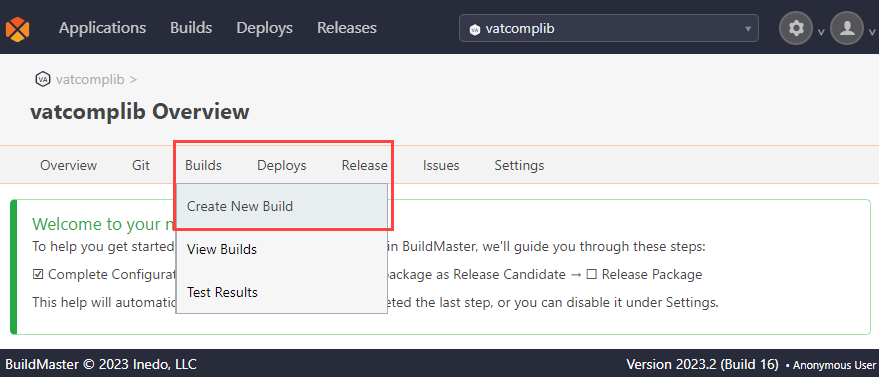
Then select "Create New Build".
Step 3: Inspect Package Contents
In this next step, we will inspect and confirm the artifacts in our build. Start by selecting "Build" and your Build number. From here, select the package from “Artifacts” under the “Build # Overview” section to be redirected to ProGet, where you can confirm the package.
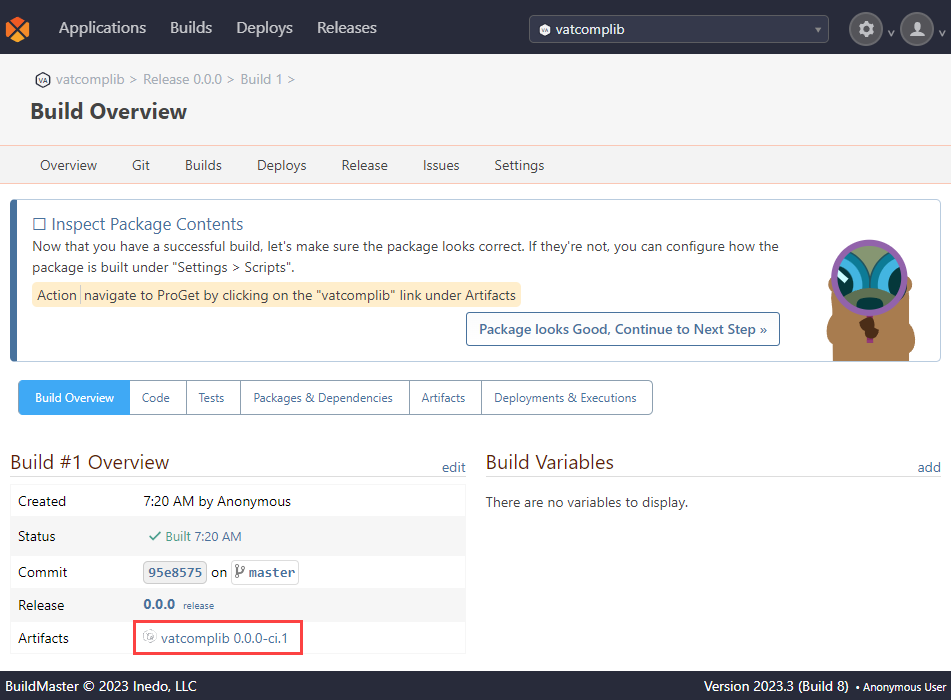
That will link directly to the package that was published in ProGet.
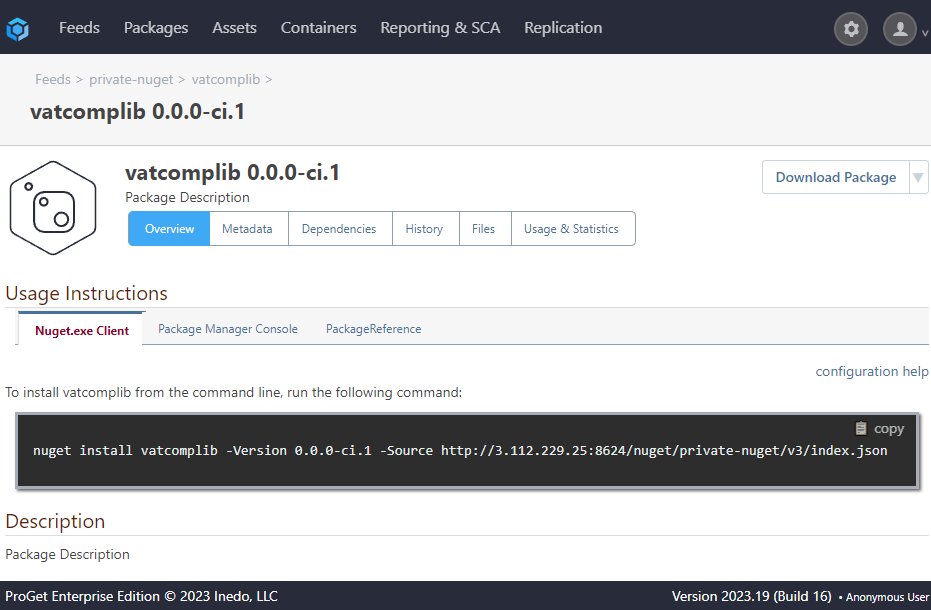
If everything looks as expected, return to BuildMaster and select "Package Looks Good, Continue to Next Step".
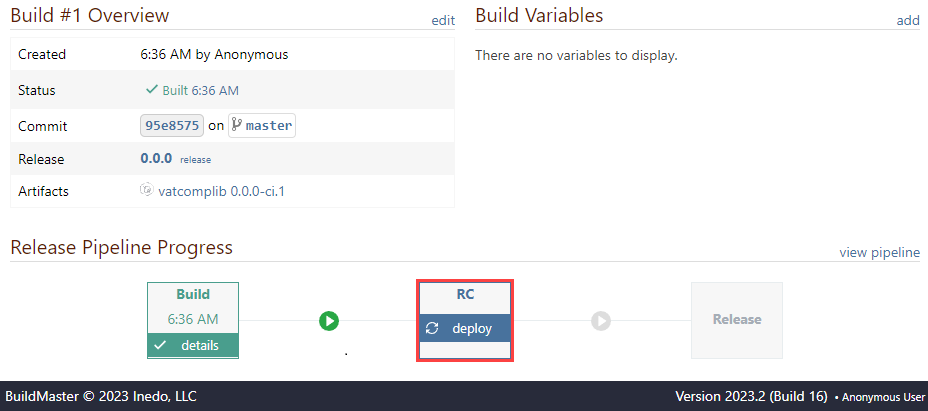
Step 4: Repackage as Release Candidate
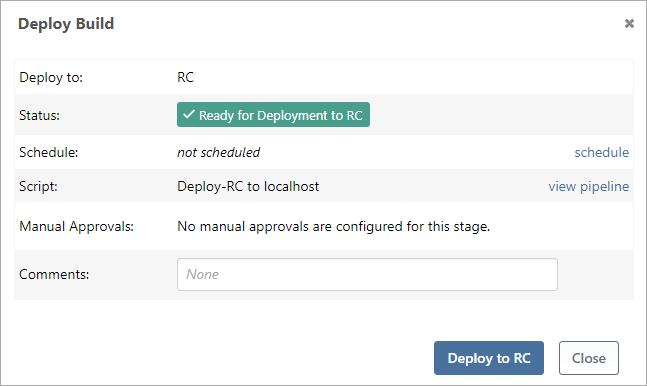
Now we will "repackage" our build to a higher-quality, release candidate. Select "deploy" in the "RC" box.
Then select "Deploy to RC".
Step 5: Repackage to a Stable (Release) Package
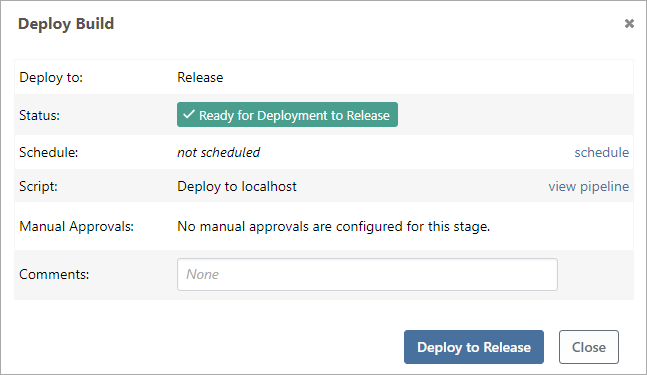
Finally, we will repackage it to a stable release package. Select "deploy" in the "Release" box.
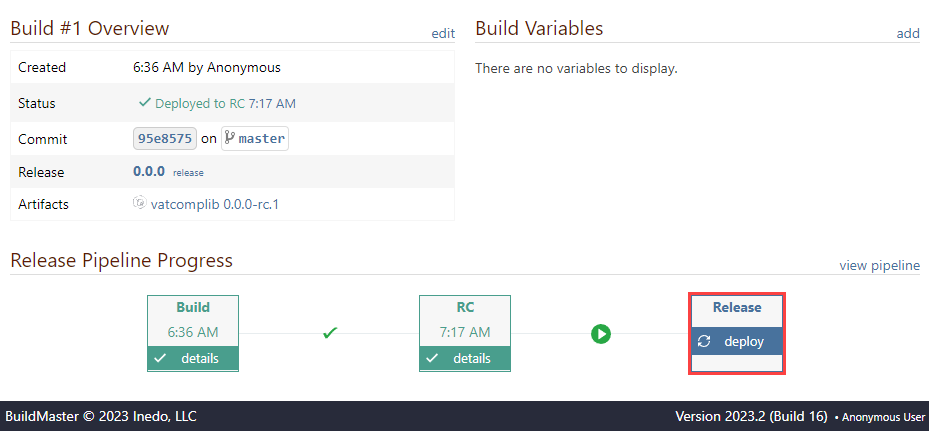
Then select "Deploy to Release".
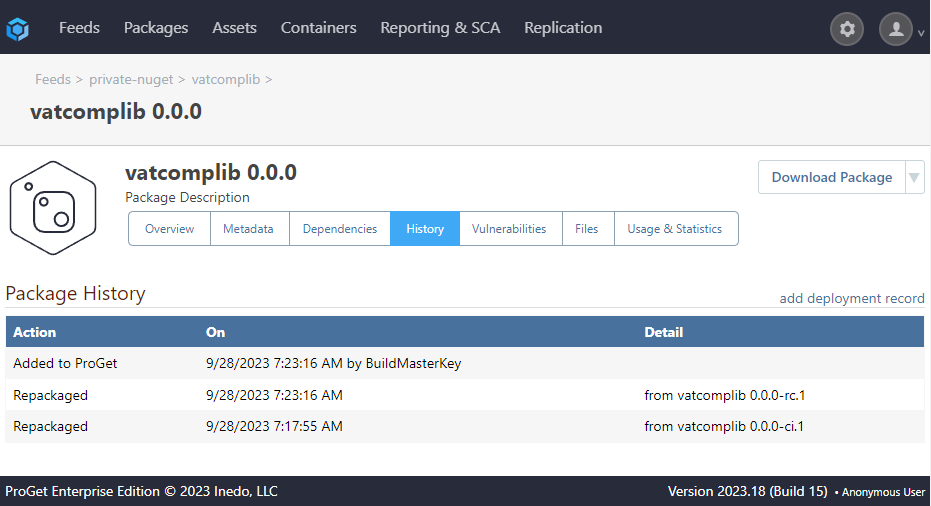
Now it has been repackaged, if we go into ProGet and navigate to “Packages” we can observe that the packages have been published.
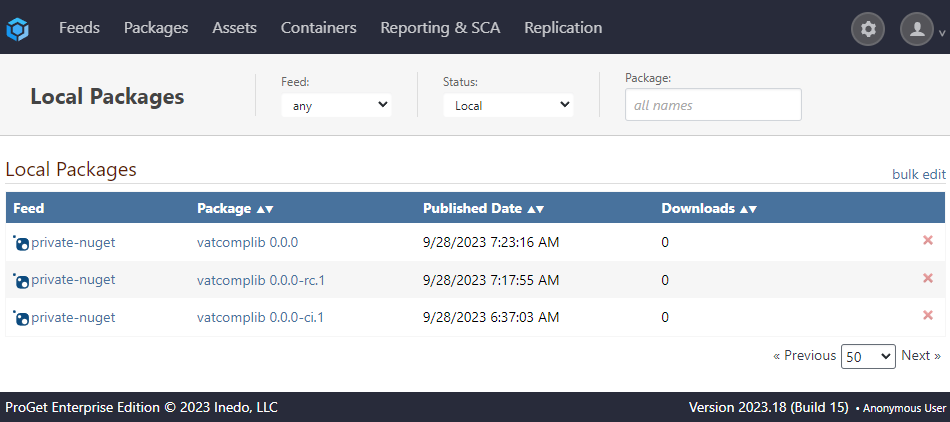
By selecting the stable release package (vatcomplib 0.0.0) and navigating to the "History" tab we can also see a history of the repackaging in our pipeline, showing:
- The build yielding
vatcomplib 0.0.0 -ci.1for testing vatcomplib 0.0.0 -ci.1repackaged to the release candidatevatcomplib 0.0.0-ri.1vatcomplib 0.0.0-ri.1repackaged to the stable version,vatcomplib 0.0.0.